I’m so happy to finally be sharing with you the pictures and journey from my collaboration with Silvia Bifaro. I met Silvia on IG at the end of July when I responded to one of her posts about #nowaste and how she’s trying to raise her family to produce the least amount of waste possible.
We clicked instantly when we met in September and by the beginning of October we were coming up with numerous ideas for potentially collaborating. She is an amazing and inspiring woman, stylist, photographer and plant-powered chef. I was extremely excited at the possibility of working with her, to say the least.
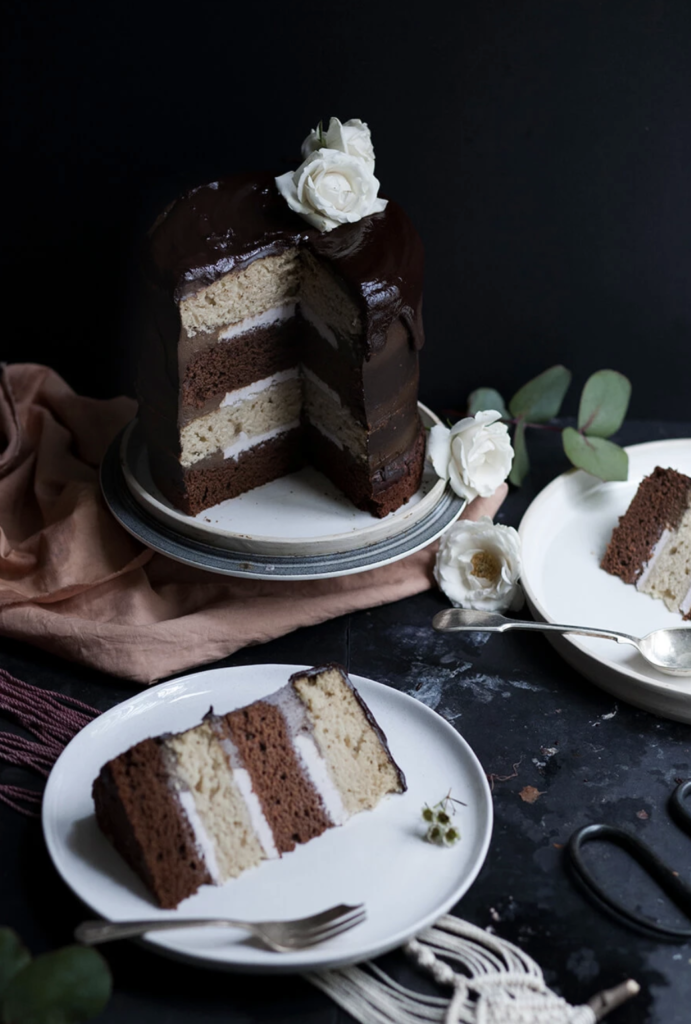
Our idea was simple. We wanted to demonstrate how you can make use of every bit of an avocado, the stone, pulp and skin, to make beautiful things. In our case, the results were, a naturally dyed powdery pink cloth and a super yummy vegan cake (recipe at the bottom of the post)!
In one of my previous posts I talked about how I fell in love with natural dyeing and I keep experimenting with it over and over again. There are many reasons why I’m addicted to this craft. One of these is that I found the slow process and the result incredibly satisfying and magical. We live in such a fast-paced society that natural death is the best antidote. You just can’t rush. You need to let nature do its work. You need to wait patiently and watch the magic unfold! In fact, I decided to practice this craft throughout the summer because of the time gaps between the steps and, as a result, I truly enjoyed the learning process.
By collaborating with Silvia I wanted to show you the beauty of this craft. I have never done styling for the camera before and this was such an amazing experience working with a professional photographer like Silvia. I feel I took away so much not only on how to set up the scene and mood but also felt inspired with how to move forward with Twome. It has given me the drive and belief that I can do and offer better and I feel the result will be closer to what I want to achieve in the future.
It wasn’t easy for Silvia to capture the natural dying process as she has never seen it or done it before, however, the result is just romantically beautiful. I cannot thank her enough for managing to capture the beauty of this craft.
In the pictures below you can see part of the dyeing process captured by Silvia.
As mentioned earlier, the steps are many and the gaps between them long.
If you like to learn and get into natural dye I highly recommend Rebecca Desnos e-book. I’ve been following her method from day one as it’s 100% natural and vegan.
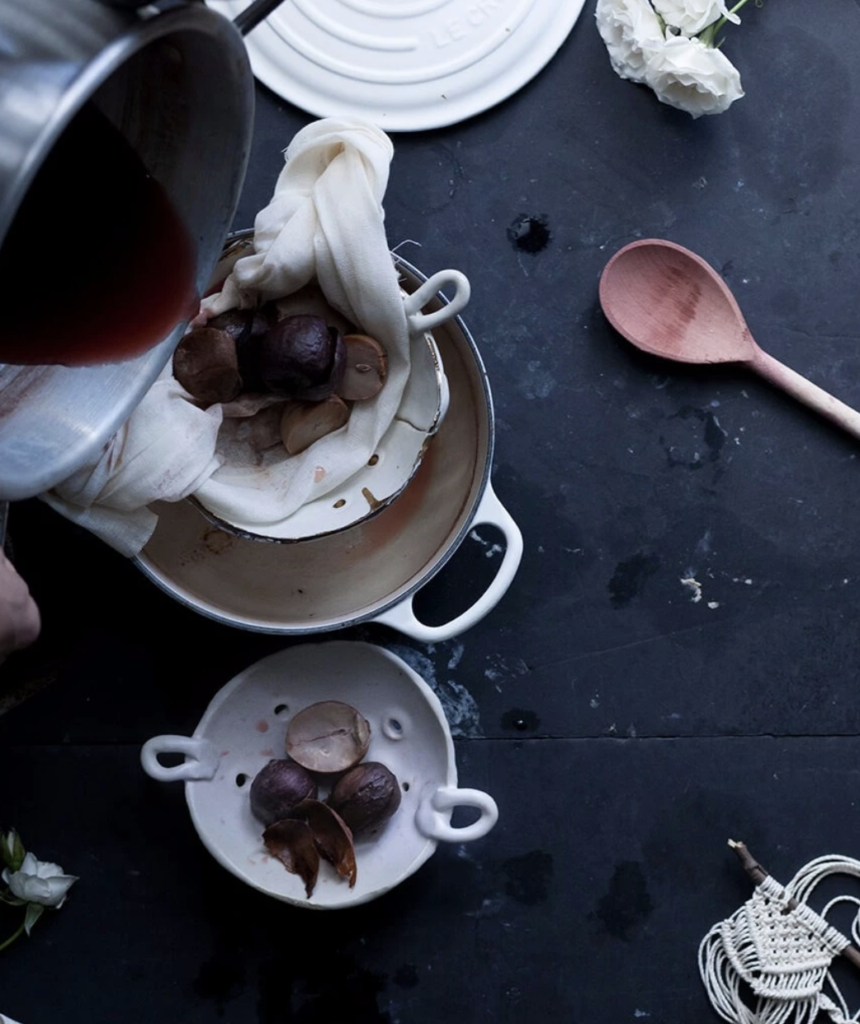
Here I’m draining the dye from the avocado stones and skins, after having simmered them for 1.5 hours in an aluminium pot. I’m using a colander and muslin cloth to get a clear liquid.
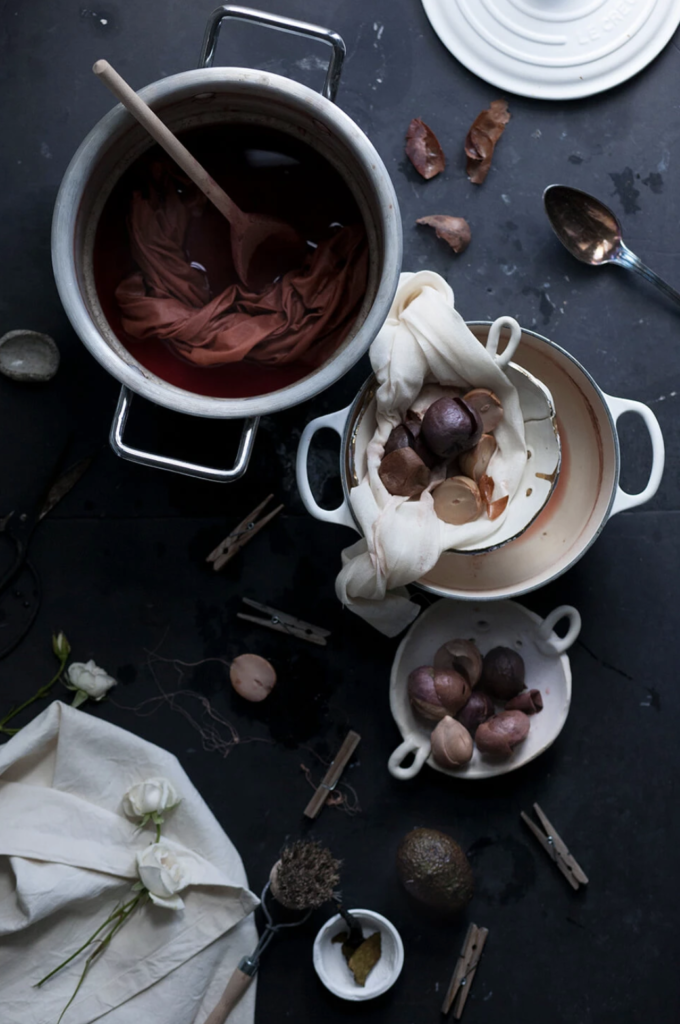
The pre-treated cloth is soaking up all the natural colour. The aluminium pot work as a mordant. To begin with I bathed all my materials in soya milk to help the dye bond with the fibres.
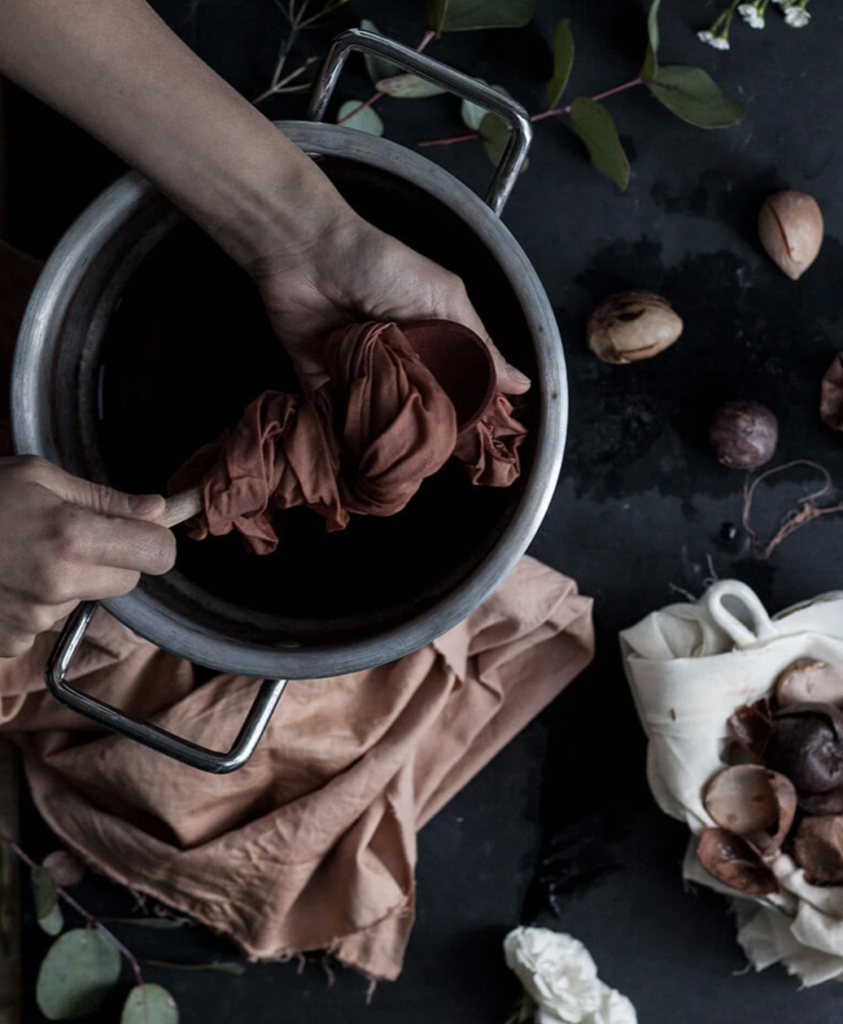
Here I’m draining the dyed cloth ready to be hung to dry. I then store the fabrics for at least a week before rinsing them so that they are ready for use.
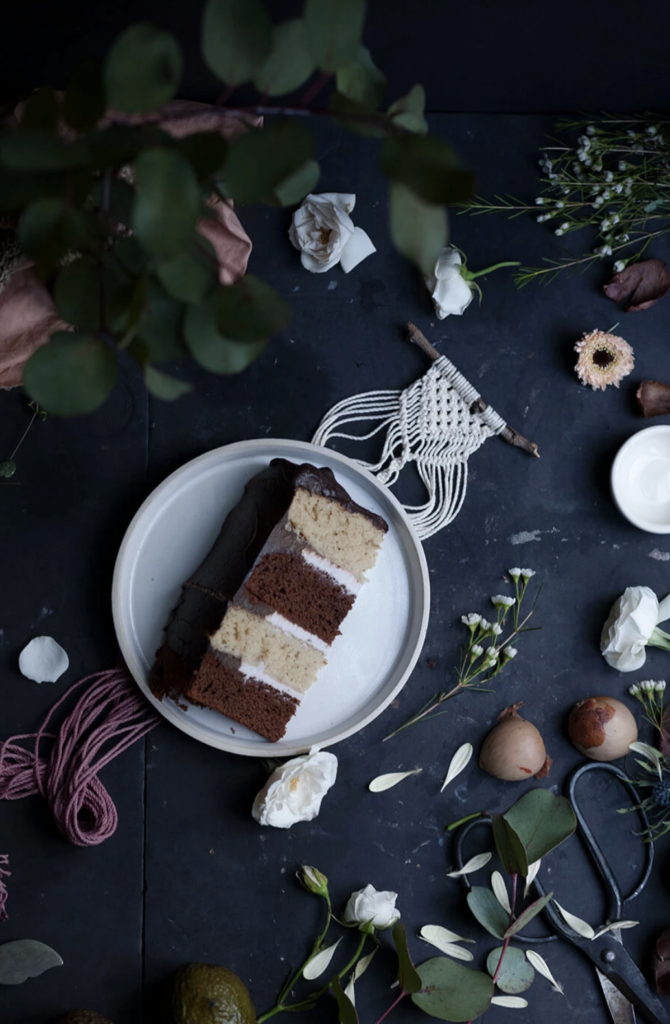
Below is the recipe for the yummy cake by Silvia.
vegan cake
Cooking time 35 min circa
Preparation easy, and adequate for beginners
serves 8 – 12 people
ingredients for the white cakes ( makes 2)
1 + 1/2 cup of white spelt flour
1 cup raw unrefined rapadura sugar
2 tsp (10 ml) organic baking powder
1 tsp vanilla essence
1 tsp apple vinegar
pinch of unrefined salt (local please, if you live in Himalayas feel free to go pink)
1/4 cup extra virgin olive oil or rapeseed oil
1 cup of spring water
ingredients for the chocolate cakes (makes 2 )
paste the same
plus 1/2 cup pure cocoa powder ( or pure carob if sensitive to cacao)
Method
preheat the oven to 180 C and grease 4 tins of 16 cm diameter circa.
if you have a oven with ventilation (fan) you can cook all 4 cakes in one go.
In two separate bowls mix well each of the two cakes. Make 3 “holes” in each of the dry mixtures. In one pour the oil, in the other 2 pour the vanilla essence and the vinegar. Cover with filtered or spring water and gently incorporate all ingredients together. The more gently you fold the wet ingredients with the dry, the less rounded the top of your cakes will come. It is matter of folding more than stirring in fact. However this recipe tends to make cakes with rounded tops so we will eaves them with a sharp knife before decorating.
When the batters are ready pour in the greased tins and cook at 180 C for 35 min or until the stick comes out clean.
When cooked let cool down for 10 min, then remove from tins and leave on a rack. Let them cool completely before starting to assemble the layered cake.
Frosting ingredients
4 medium avocado, ripe and soft
1/2 cup of raw cocoa ( or pure carob if sensitive to chocolate)
1/3 cup raw unrefined coconut sugar\rapadura\xylitol
1/4 tsp vanilla essence
pinch of unrefined salt
blend all together and refrigerate
Dripping sauce
1 raw refined sugar-free chocolate bar to melt as dripping sauce
1 Tbsp coconut oil
2 Tbsp or more plant-based milk
Melt on a low flame a sugar-free vegan chocolate bar adding a couple of Tbsp of plant-based milk and 1 Tbsp of coconut oil. Leave to cool until viscous before using.
Ingredients for the filling
170 gr good quality vegan cream cheese
pinch or drop of vanilla powder or essence
1 tbsp xylitol
4/5 blackberries juice
mix all ingredients without blending in the food processor.
Assembling
When the cakes are perfectly cold and the frosting and filling are quite solid to hold onto the cake you can start to assemble.
If the cake is rounded cut off the top take care to keep them straight and similar in height.
Start with the chocolate cake, and spread a measured amount of filling in the centre up to 1.5 cm from the edges. Pipe all around the chocolate frosting.
Place on top one of the vanilla cakes and repeat, then again a chocolate cake and repeat. The last cake will be the vanilla, place it upside down and poke a long stick in the middle to hold the layered cake while you work with it. If necessary put it back in the fridge for some moments.
Scoop a generous amount of frosting on top of the cake and with a spatula work it all around the top and down the sides of it, scraping away the excess very gently. You want to fill up any space leaving some of the cake edges still visible.
Pour the chocolate dripping sauce on top of your cake, leaving one side without any dripping chocolate at all.
When finished put it into the fridge until firm.
Finally decorate.
You can Go on to salvialimone.com to find more delicious recipes and her post on this collaboration.
PS. one more, because I love this picture also starring my mini macrame naturally dyed in hibiscus flower and my polymer clay pot.
Hope you’ve enjoyed this post! I would love to hear your thoughts.
Love
Isabella xxx