The bohemian fringe! They look so beautiful and smooth, but how do you get the perfect macrame fringe? At some point, we all have ended up with a fringe too short trying to make it look right. It’s not easy. Fringe envy is real!
There are a few tricks to help you achieve the perfect macrame fringe and I am going to share them with you today.
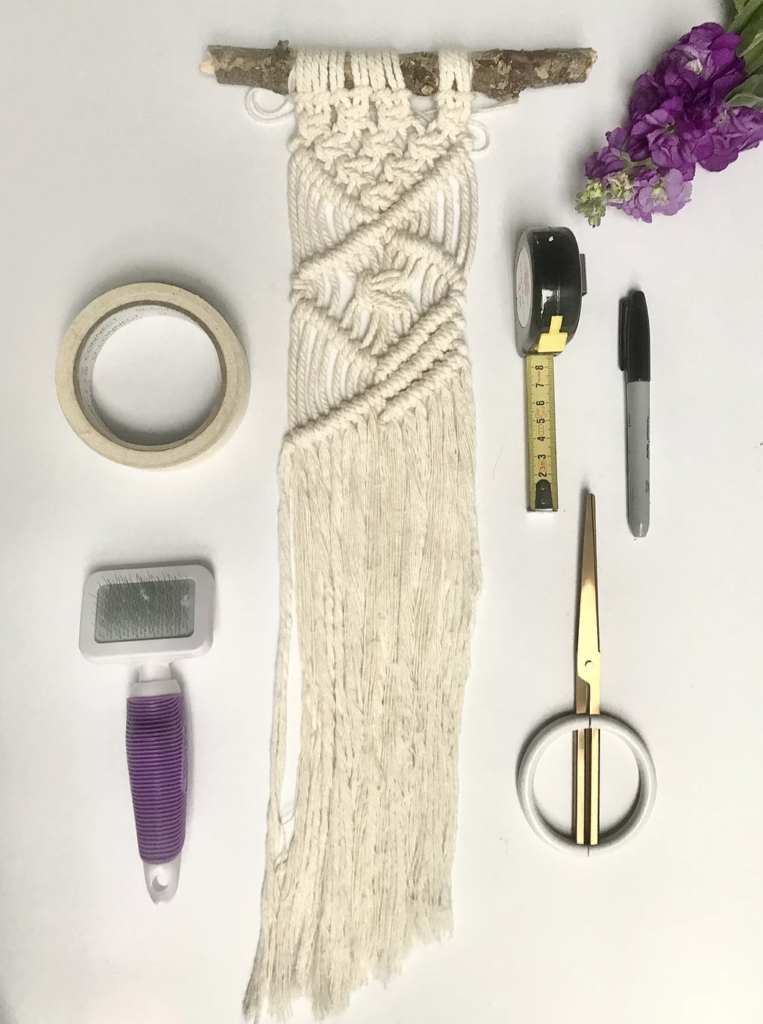
Let’s start:
Before you even start cutting you need to make sure you have a well brushed fringe. Unravel your string starting from the top and then use a pet brush to comb the fringe (you can use a normal comb too but be warned, it takes much longer to achieve a well brushed fringe). Brush it until the fringe is nice and straight.
Working with a single twist string will make this process easier than using a 3-ply string. Also. single twist strings are much softer and therefore the overall look will be fluffier and softer.
Once you have a well-brushed fringe it’s time to cut, to help you with this process, you can use spray starch to ‘fix’ your fringe. I don’t use this step but I know other macrame artists do.
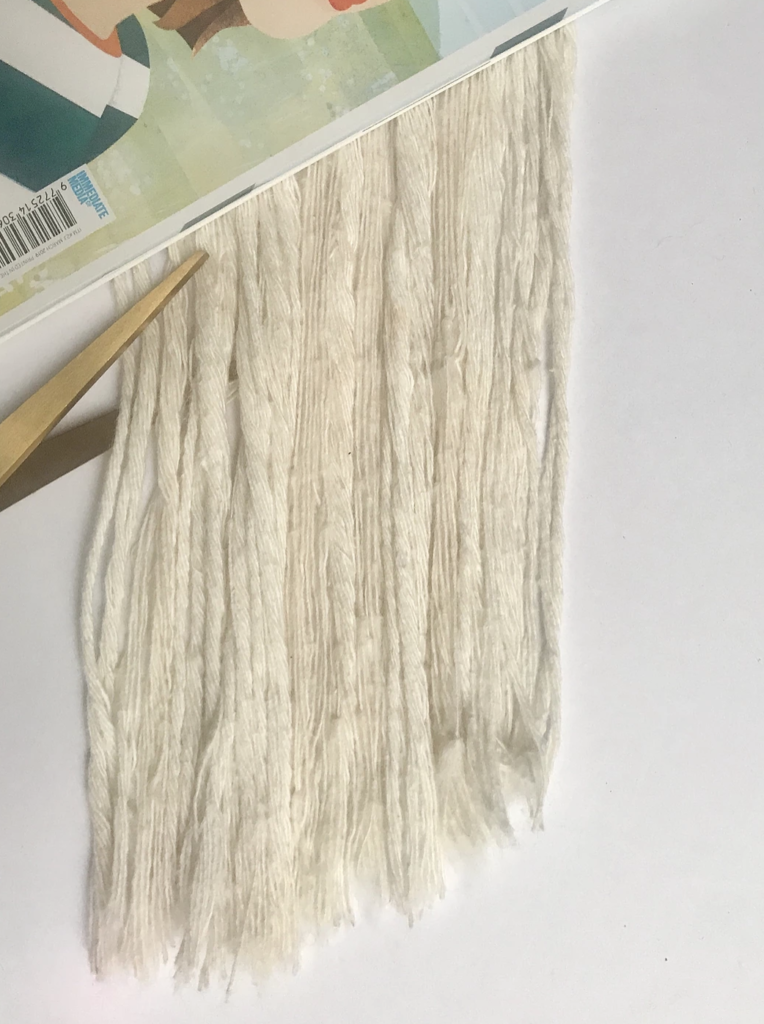
Version 1
Book. Until recently this was my way to cut a macrame fringe. Take the macrame on a flat surface, place a book on top of the fringe at the desired angle and star cutting. Then place the book on the other side, mirror the same angle and start cutting.
Pro- quick to do, you can use any book
Cons- difficult to mirror the exact same angle
Version 2
Masking tape (alternative washi tape). BEST method to cut the perfect fringe. Take the macrame on a flat surface, use the masking tape (don’t use other tapes or the glue will stick to the fringe) and make a triangle or a line. You can use a measuring tape to double-check that all the distance is correct and consistent before start cutting underneath the tape. Extra tip, with a ruler, draw a line so you know exactly where to cut.
Pro- perfect and consistent length
Cons- take time to place the tape but totally worth it
Version 3
Fold in half. Perfect for small macrame items like bunting, cushion cover, wall hanging on a string.
Fold your macrame piece in half and cut the fringe. You can use a book and masking tape too to help you.
Pro- saves time
Cons- can be used only for small macrame items
Version 4
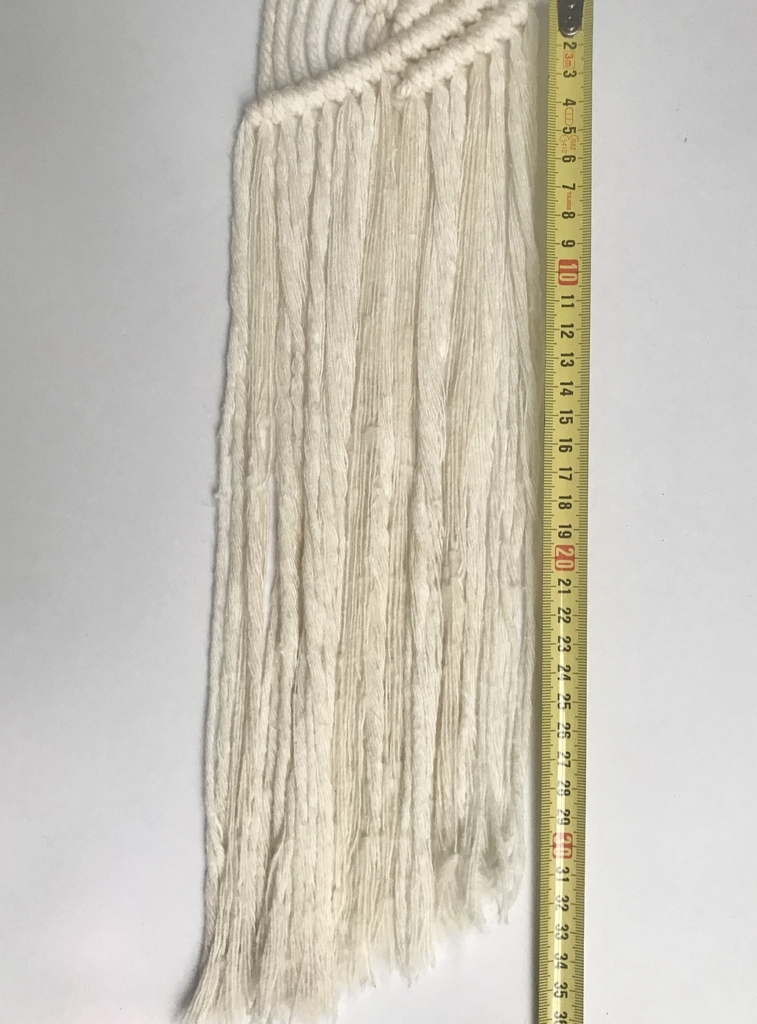
Measuring tape. Sometimes is the only way to cut the fringe on extra large wall hanging or round macrame items like a wreath or a lampshade. Start from one end with your measuring tape and cut away.
Pro- perfect and consistent length
Cons- time-consuming but sometimes there are no other alternatives
I hope these tricks will help you cut the perfect macrame fringe. If you know any other ways to achieve the perfect macrame fringe, please share them with me, I am always keen to discover new techniques.
If you are interested in learning in more depth specific macrame topic, you might be interested in one of my master classes here (scroll at the bottom of the page for the full list).
Thank you
with love
Isabella