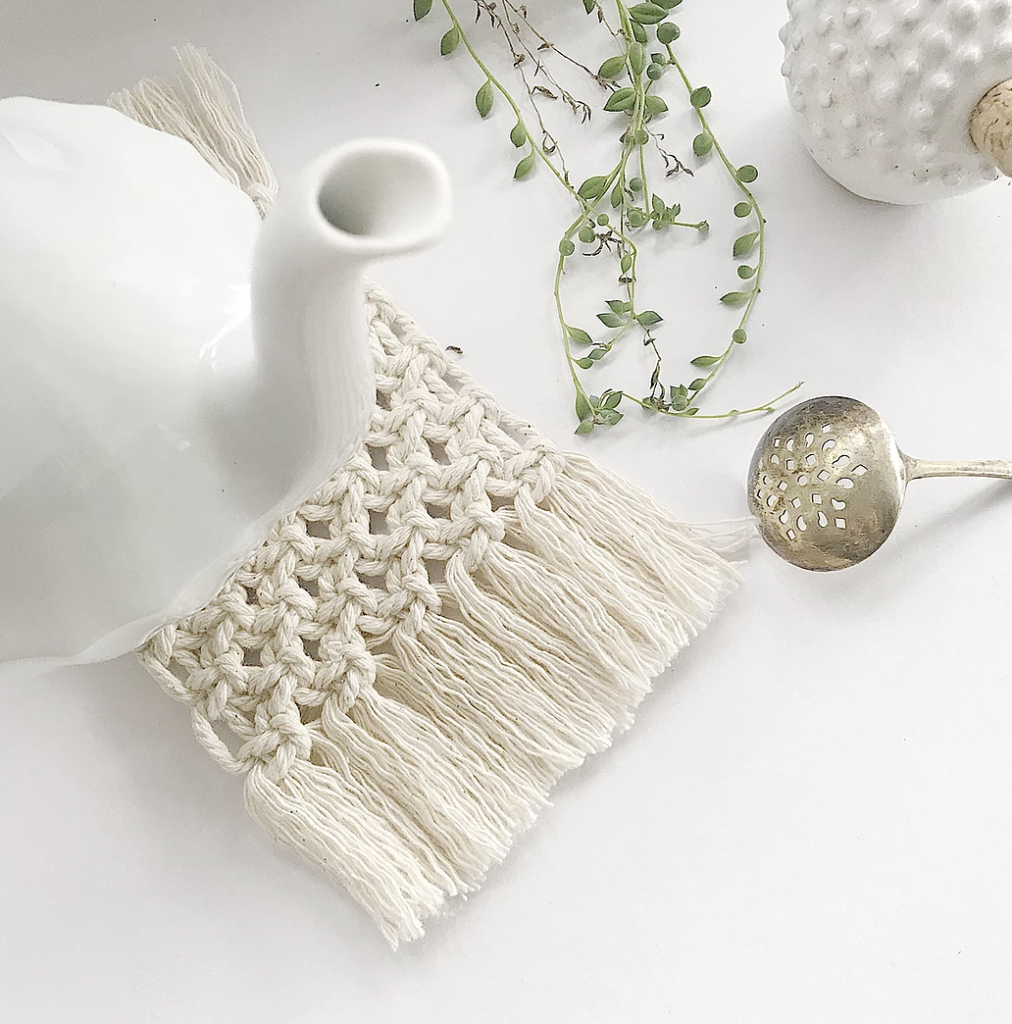
If you’re looking for a fun and beginner-friendly macrame project, you’ll love this macrame coaster tutorial. Whether you’ve never tried macrame before or you’re a seasoned pro, this simple and effective project is perfect for all skill levels.
I’ve shared this tutorial on my latest Instagram post, however, I also wanted to add it here so you can all find it again easily and the images are much bigger!
Give it a go and if you post a picture on Instagram or Facebook, please use #startacreativejourney
Material:
10 x 1.2 meters of 3mm rope
1x 30cm piece of string
Masking tape
Measuring tape
Scissors Comb
Tutorial:
STEP 1- Fix your string with masking tape on your tabletop. (picture below)
STEP 2-Using a lark knot (you can learn how to make it here) place the 10 pieces of rope on your piece of string. (picture below).
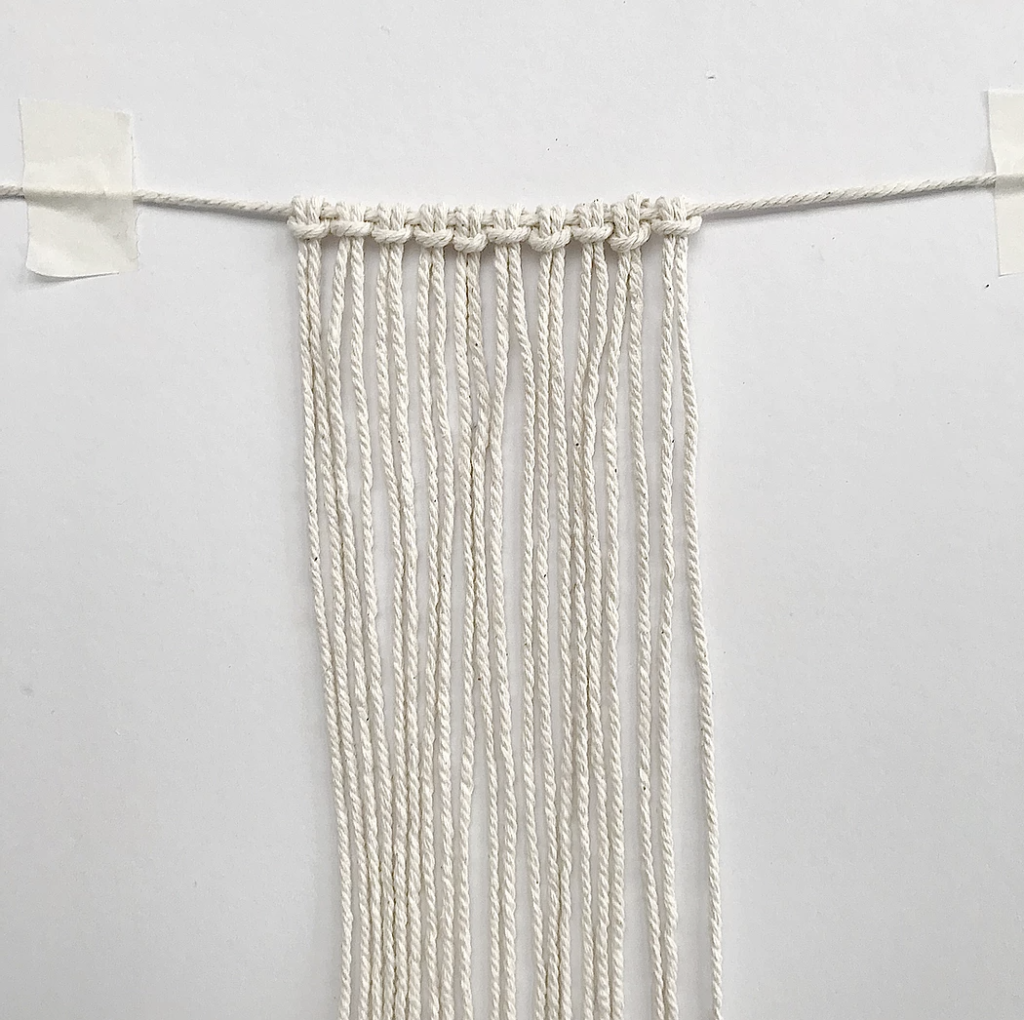
STEP 3- Measure 6cm under your string and start a row of 5 square knots (you can learn how to make it here ).
STEP 4- Continue to make alternated rows of 5 and 4 square knots util you have 11 rows. (picture below)
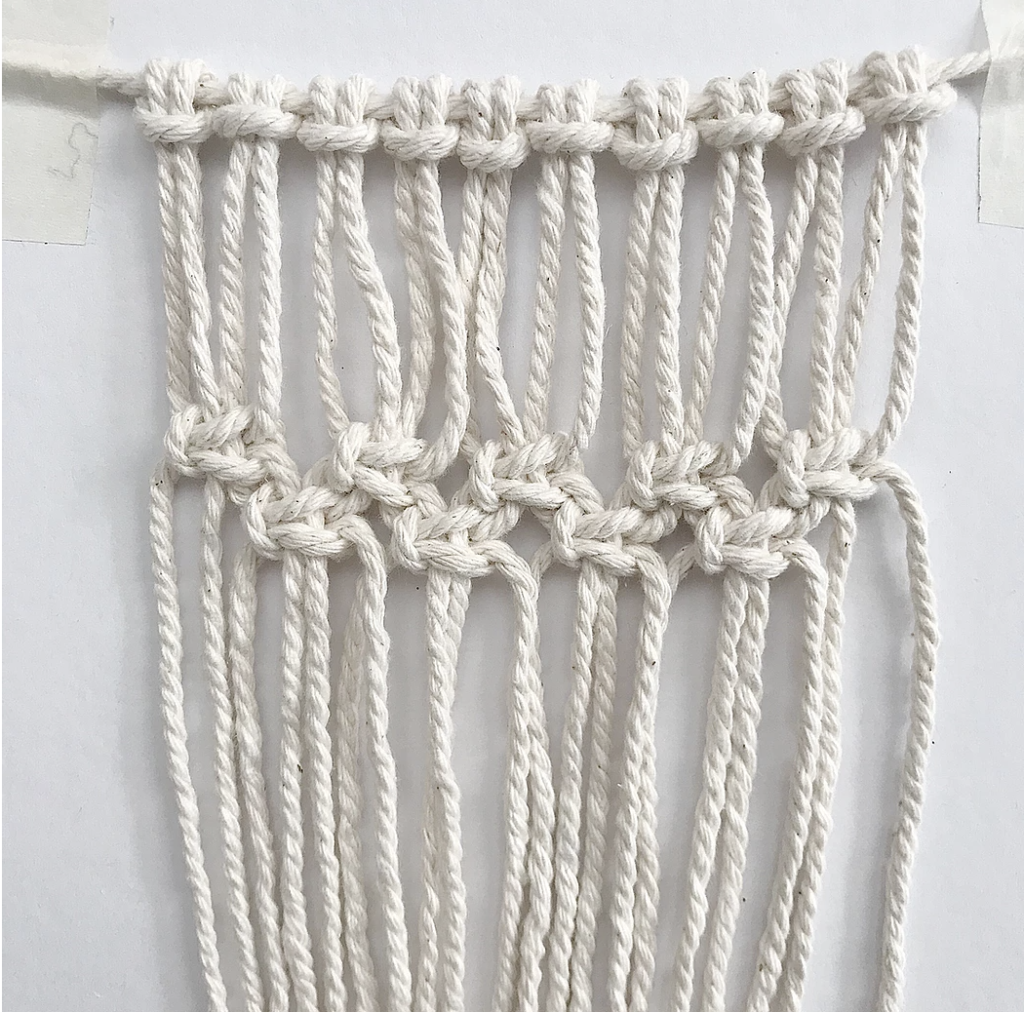
STEPS 5- Cut the ropes under the string and then measure 6cm under your last row of square knots and cut the ropes. ( picture below)
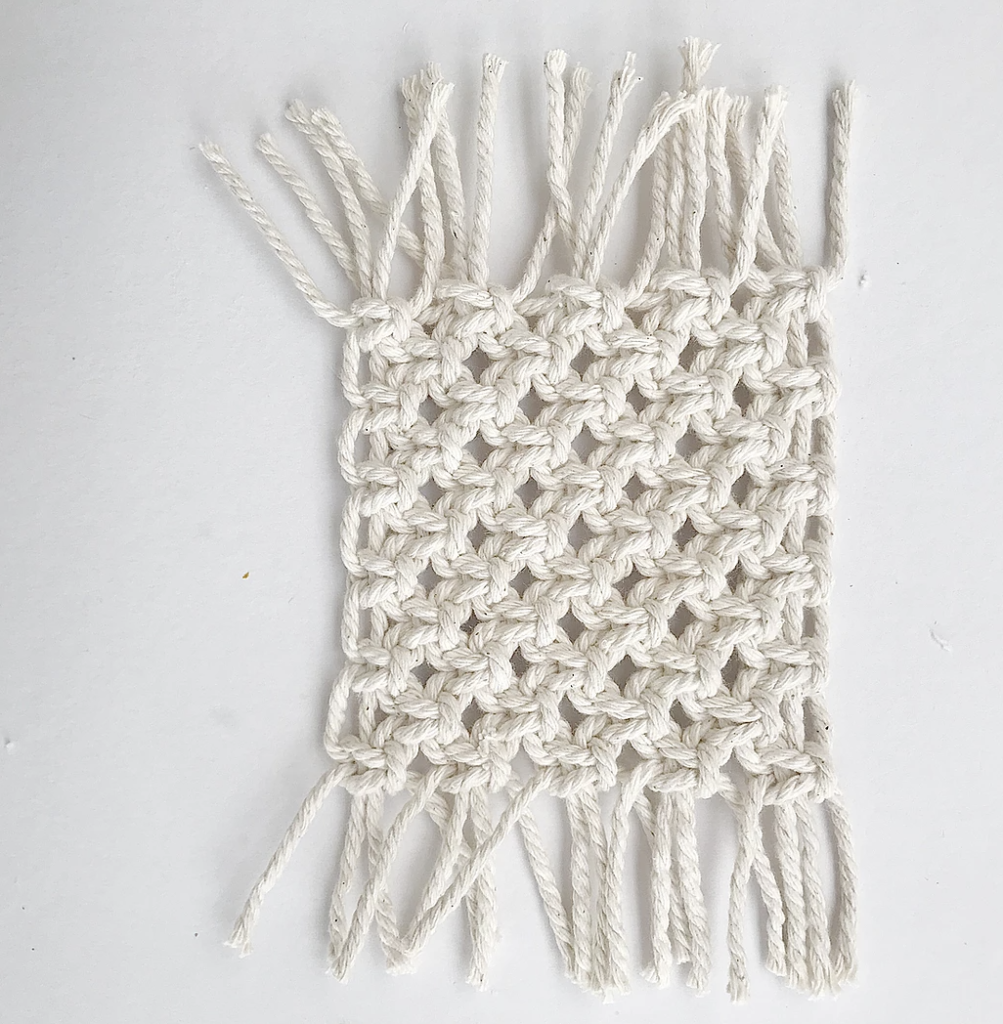
STEPS 6- Unravel the rope’s ends on both sides and with the help of the comb brush them. ( picture below)
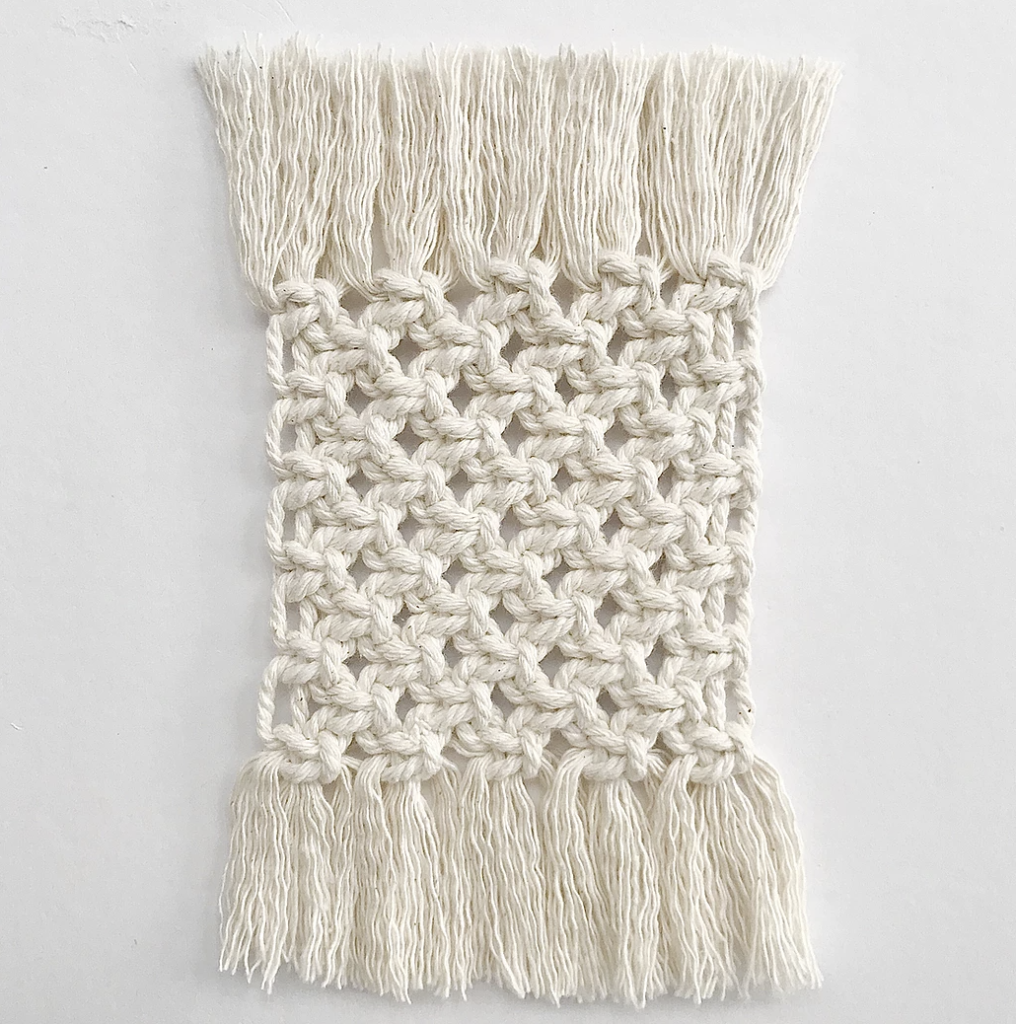
Voila’, you have your coaster!
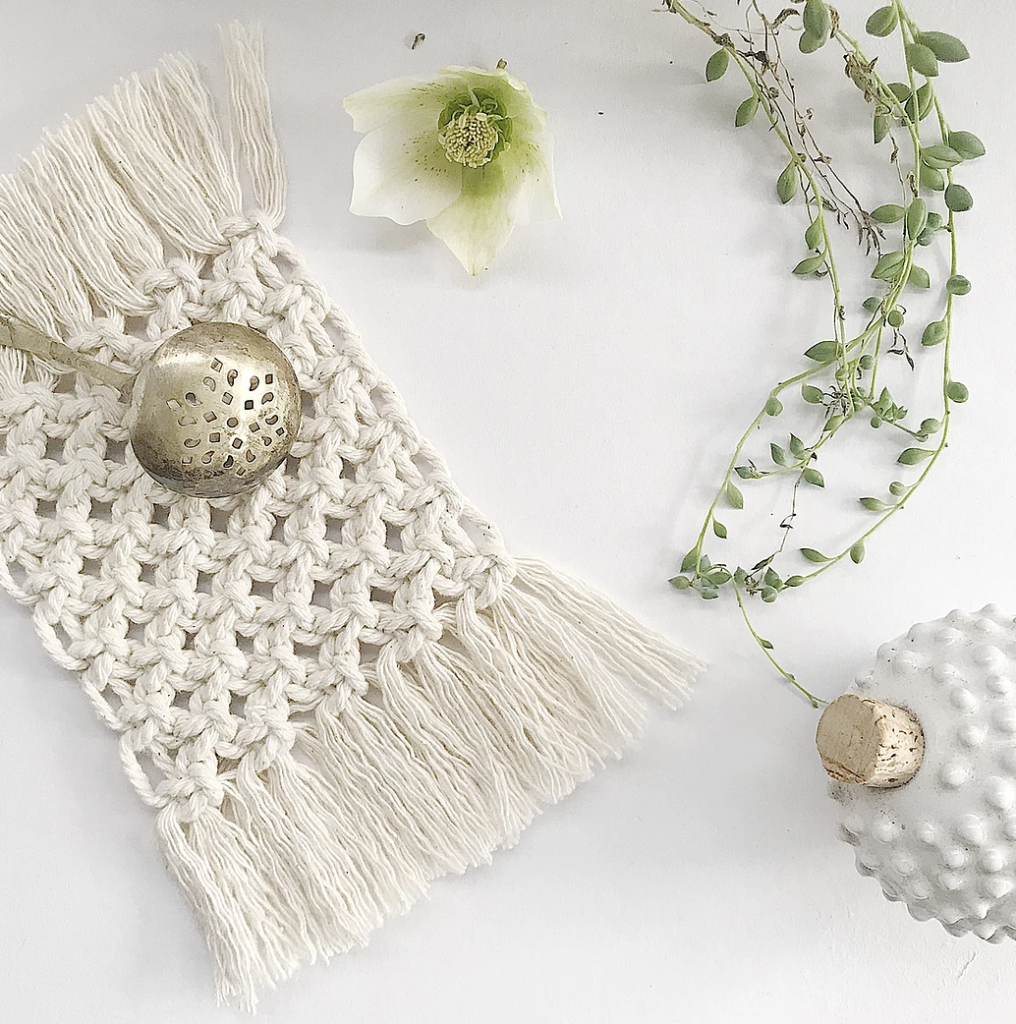
What do you think? could make one? Try and let me know!
If you have any questions, just comment below or email me.
Looking forward to seeing your beautiful work.
Isabella x

THE MACRAME MATCHMAKER QUIZ
Uncover Your Macrame Super Powers and Find Your Perfect Project!