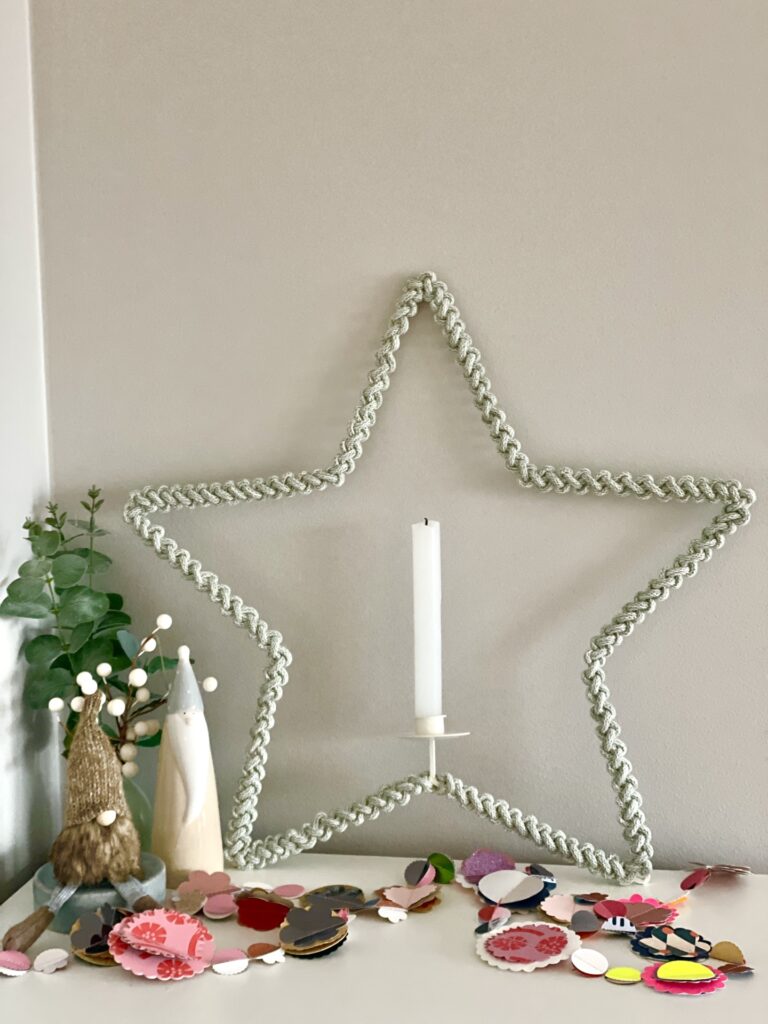
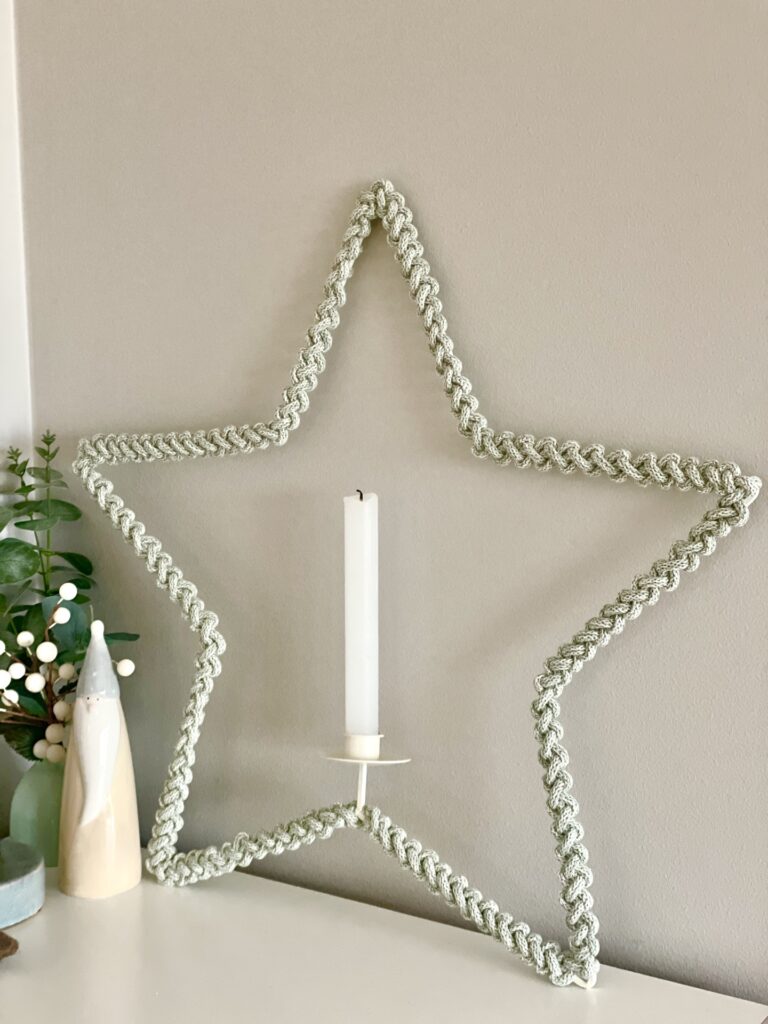
Create a beautiful macramé star to decorate your home — perfect for Christmas or as a year-round handmade accent.
A macramé star is one of the easiest and most rewarding projects for beginners. It’s simple, fast to make, and instantly adds warmth, texture, and style to any space. Whether you want festive decorations for the holiday season or simple, modern pieces to display all year, a macramé star delivers a handmade charm that works with almost any décor style — from boho to minimalist, Scandinavian, rustic, or cosy cottage.
Macramé is all about simple, repetitive knots that look stunning when combined, and the macramé star is the perfect place to start if you’re new to this craft or looking for a quick project. With just one knot and some cotton cord, you can create a lightweight, geometric design that looks professional even on your very first try. These stars also make thoughtful gifts, beautiful wall or window pieces, and lovely wreaths or garlands.
In this step-by-step macramé star tutorial, you’ll learn exactly how to make and finish your star so it looks crisp, clean, and handmade with care. Let’s get started.
⭐ What you’ll need to make the macrame star
Star Frame (mine was bought at a second-hand shop, and its size is 50cm)
15 meters of 5mm braided string (depending on the size of your star frame, you might need more or fewer meters of string)
Scissors
Measuring tape
Waving Needle, Ez-beader or crochet hook
⭐ Step-by-Step Instructions
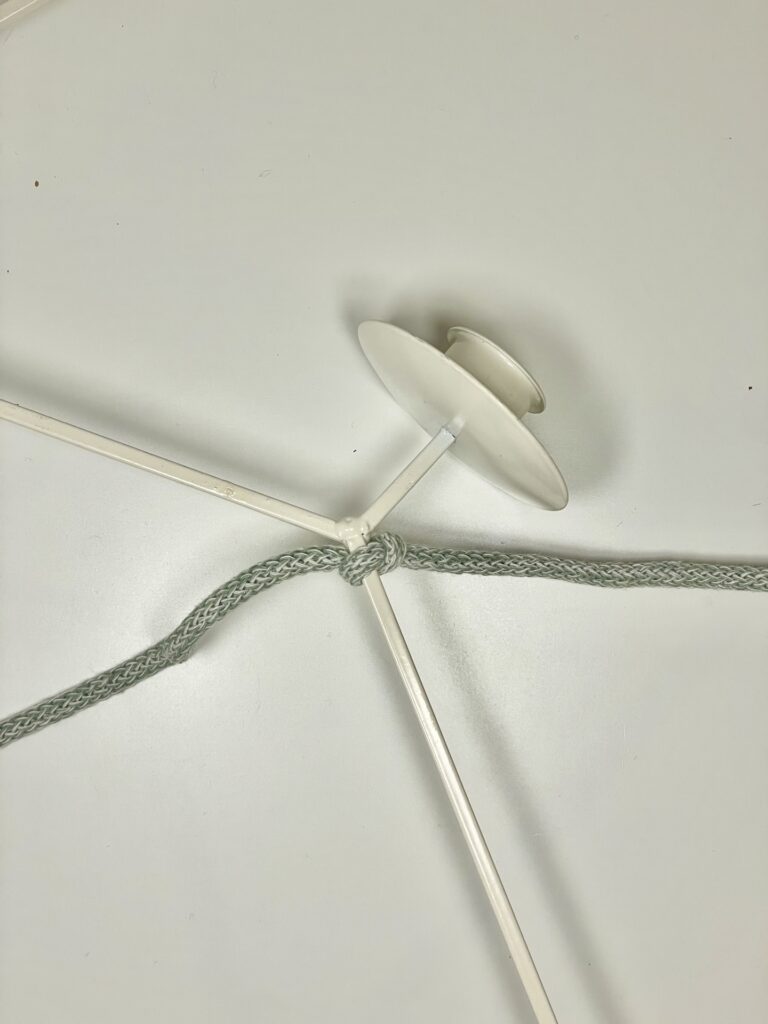
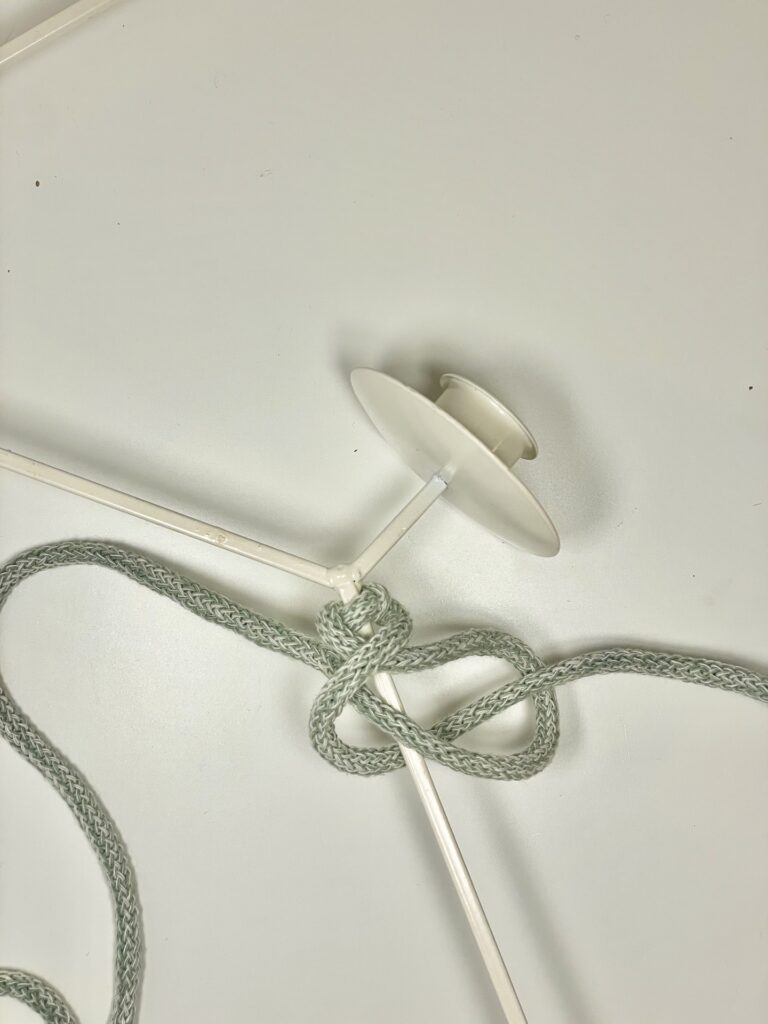
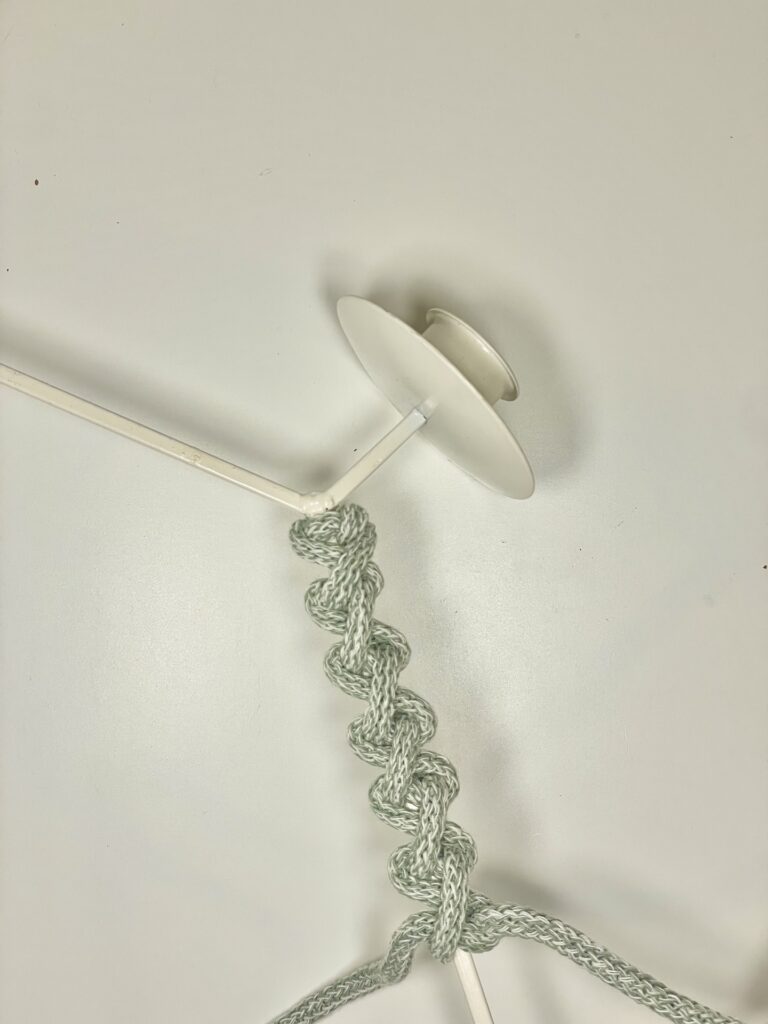
Step 1-
Tie a knot on your star frame, making sure the string on the right is 7 meters and the string on the left 8 meters.
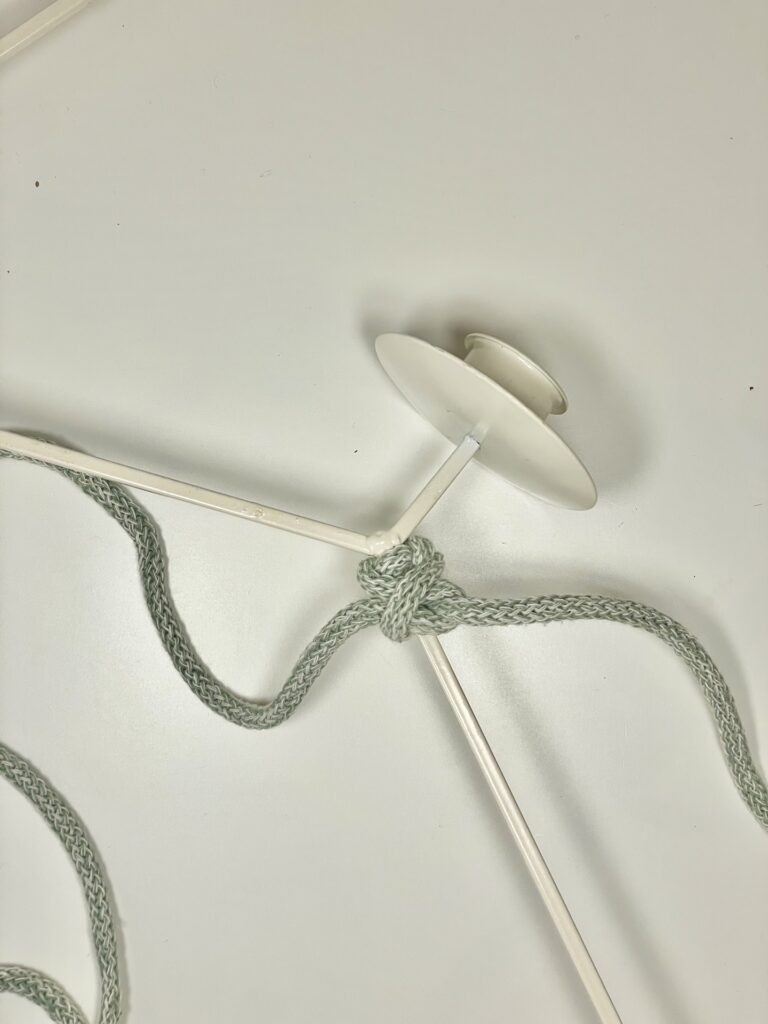
Step 2-
Fold the string on the left over the frame to create an S.
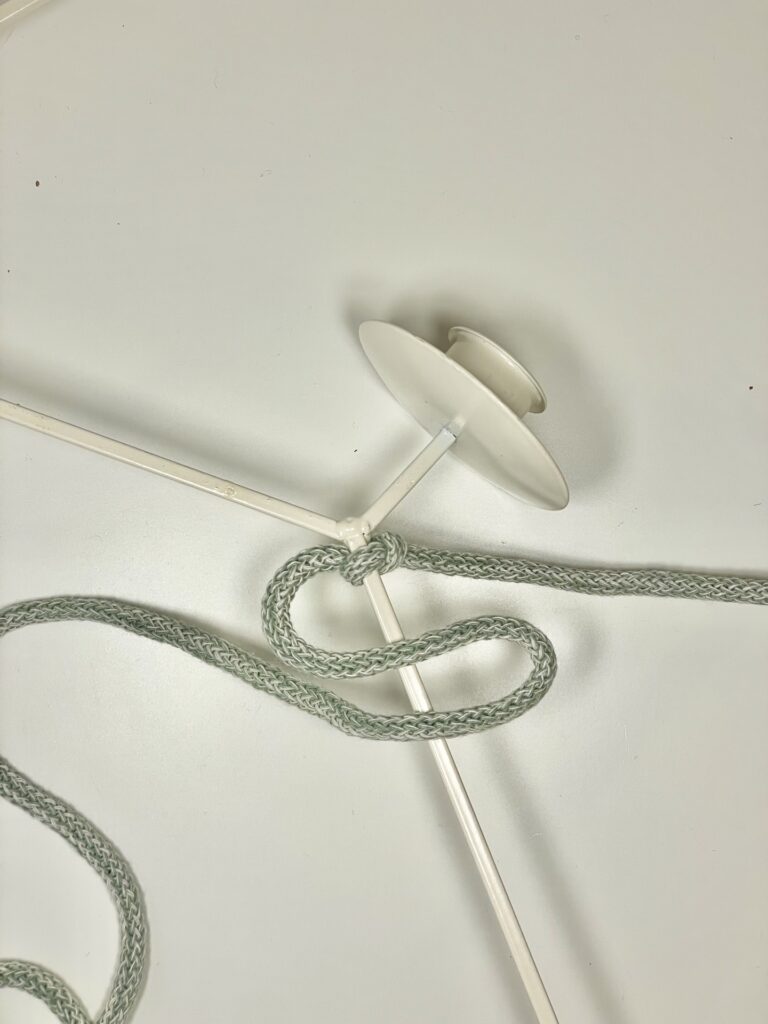
Step 3-
Take the string on the right and place it over the S diagonally on the left side
Step 4-
Take the string, pass it under the frame, and through the loop on the right.
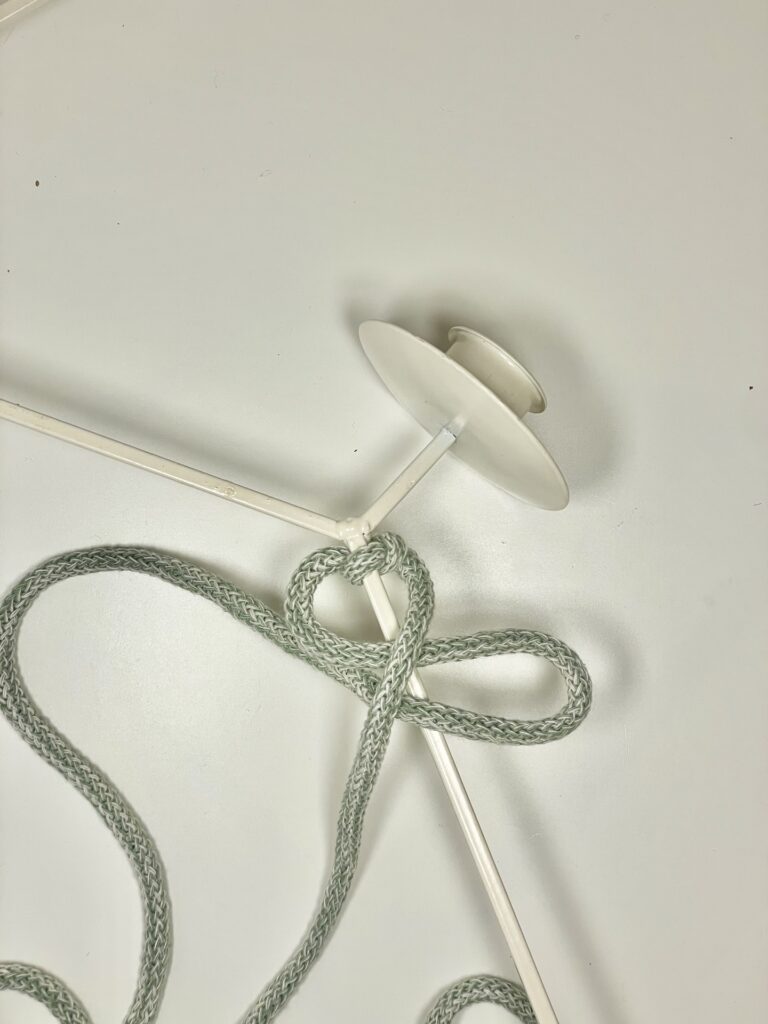
Step 5-
Pull gently
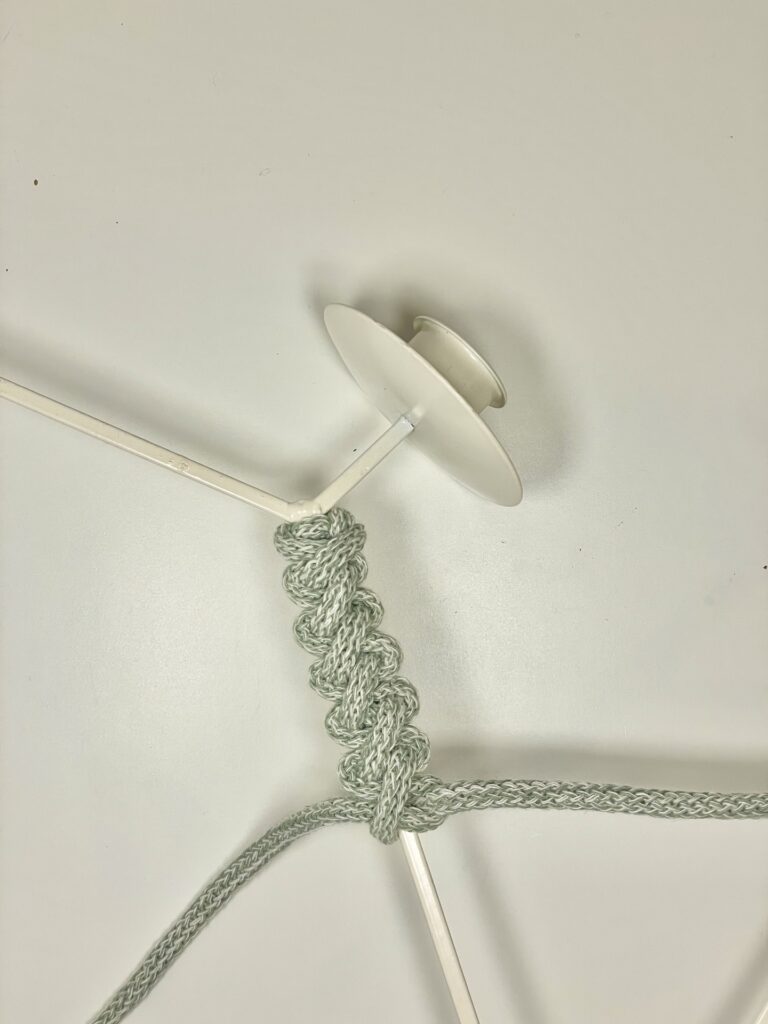
Step 6-
Repeat steps 2-5. When you reach the point of the star, continue knotting.
Step 7-
When you complete the macrame star, tuck the ends of the strings at the back of the knots and trim any excess.
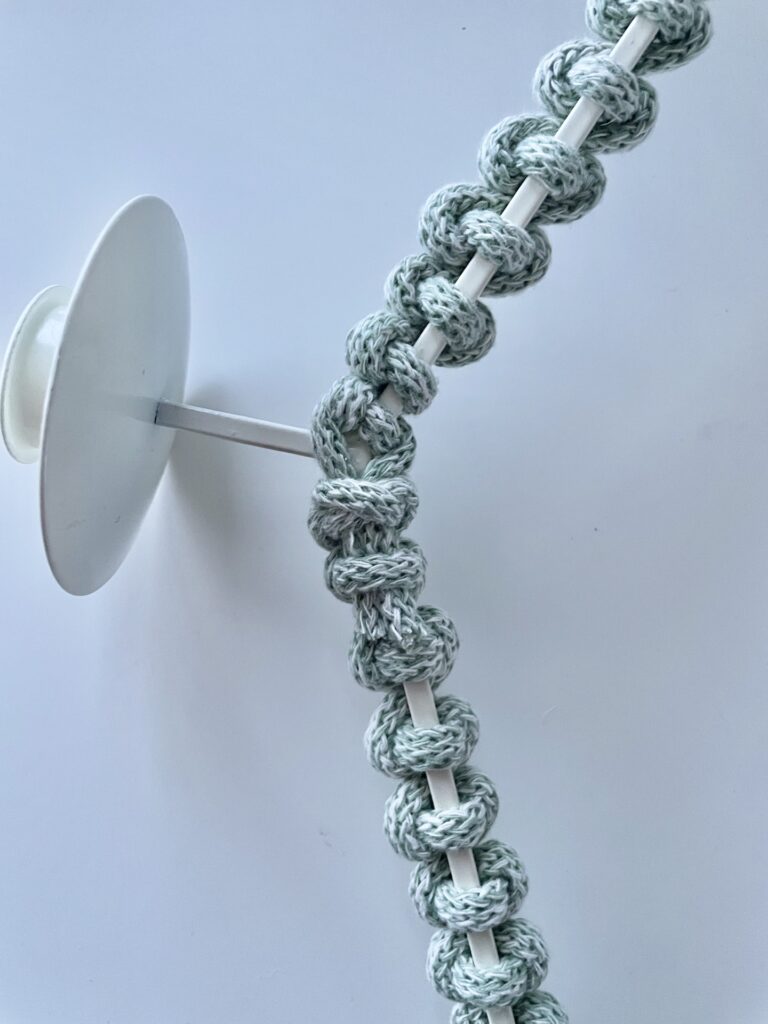
Note
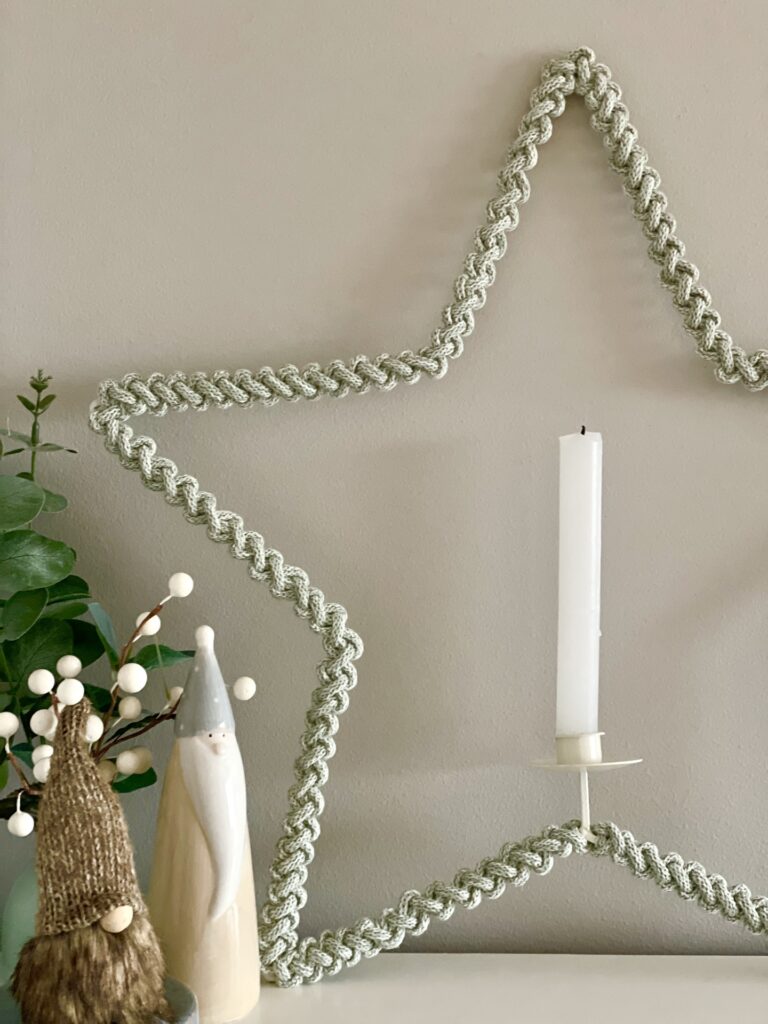
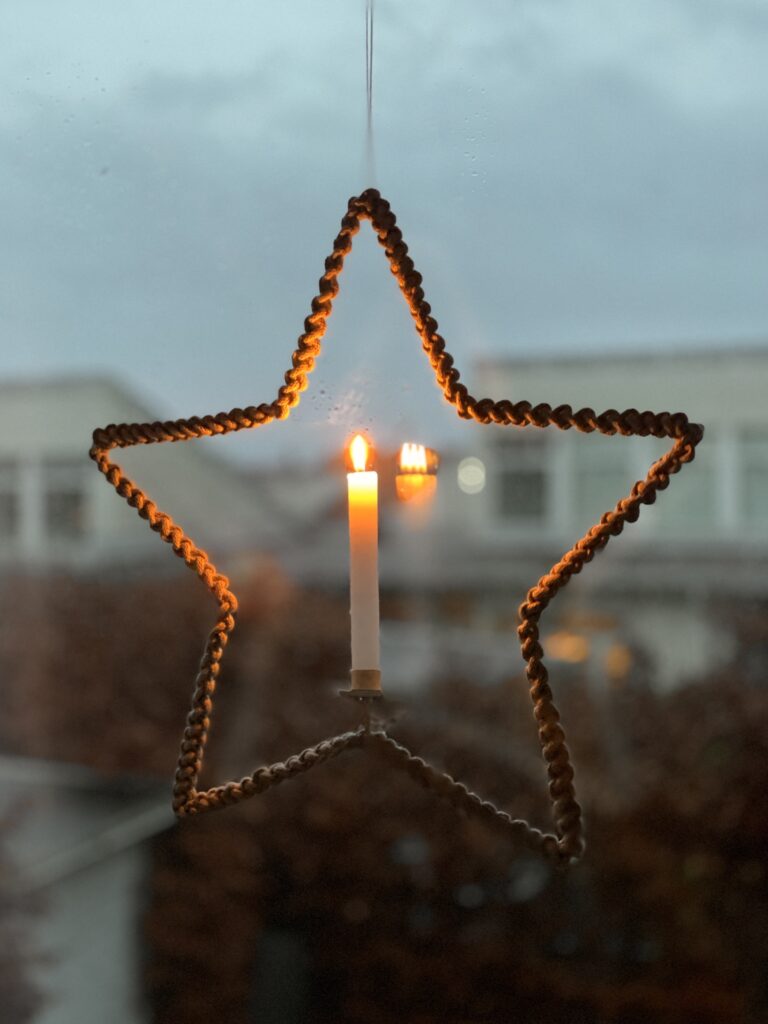
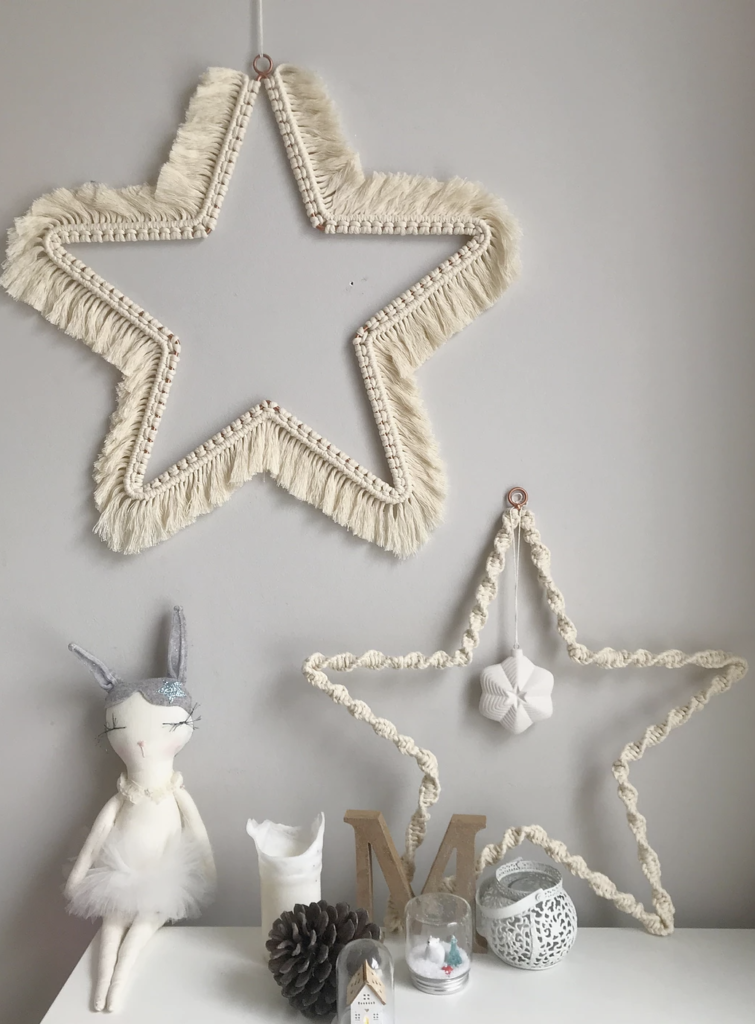
You can keep the knots very close together or separate them; you can see the two different looks below. The closer the knots, the more strings you will need.
⭐ How to Customise Your Macramé Star
Make your macrame star feel like you:
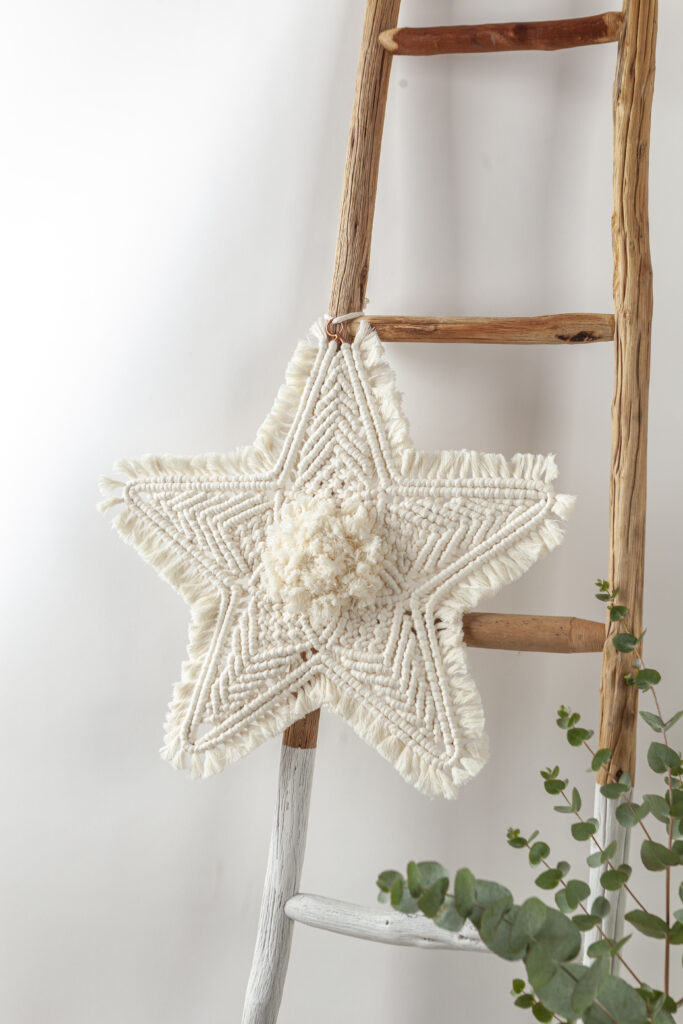
- Choose natural cotton for a minimalist look
- Choose bold strings for a statement look
- Use festive shades (mustard, forest green, deep red) for holiday vibes
- Add beads, mini bells, or dried orange slices for festive accents
- Make a set in different sizes for a beautiful wall display
- Natural dye your cord for a soft and natural look
You can use the same knot to cover any metal or wooden frames, moon, sun, letter shape and more!
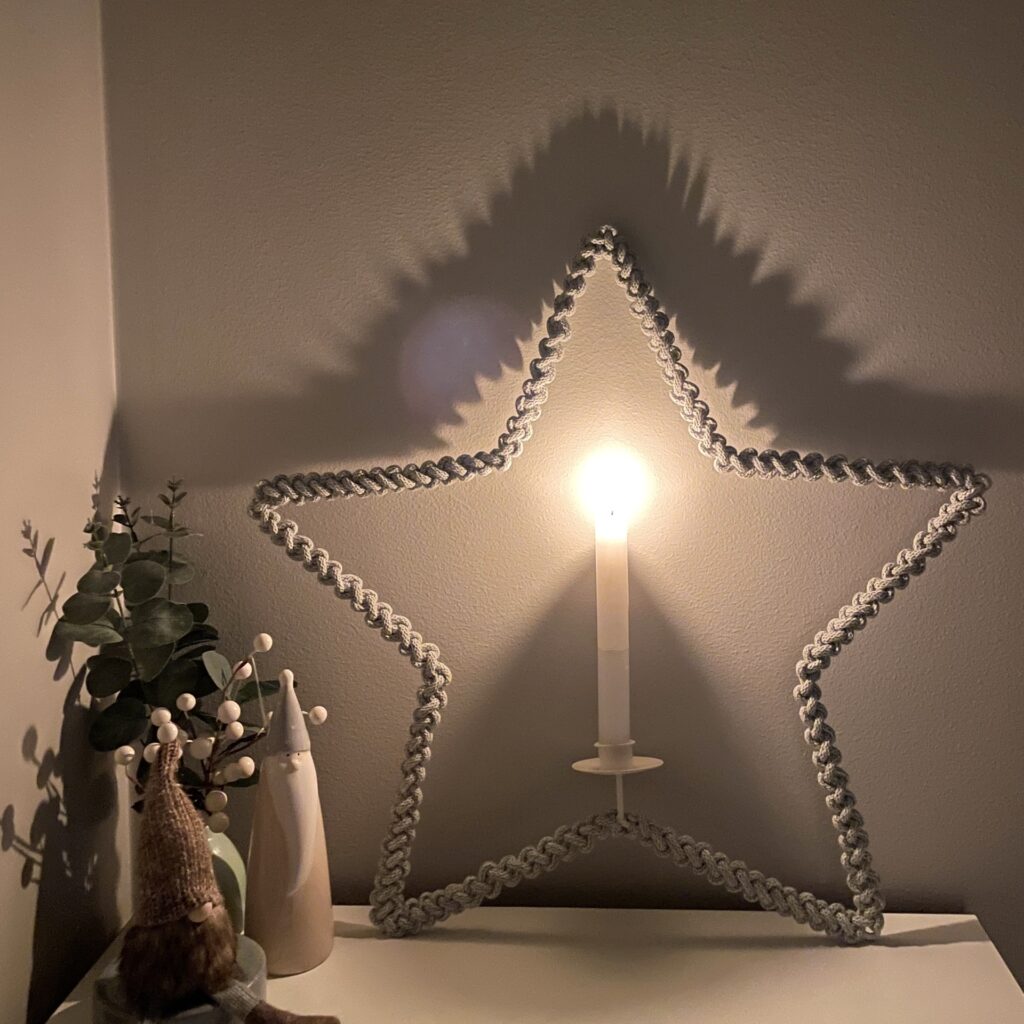
⭐ Where to Use Your Macramé Star
This piece is incredibly versatile:
- Hang it on the wall or window
- Turn it into a winter wreath
- Display it as wall decor all year long
- Create multiple stars to form a set
A handmade macramé star instantly adds texture and warmth wherever it goes.
Finally, this beginner-friendly macramé star is quick to make, relaxing to craft, and a thoughtful handmade touch for your home or gifts. Once you make one, you’ll probably end up making a dozen! They are addictive!
DISCOVER more macrame stars!
Check out my blog post ‘Best Macrame Christmas Stars’ HERE
If you are looking for a more advanced macrame star project, check out my book ‘Macrame Christmas’ here.
Do you want to Learn Macrame?
All things macrame in one platform!
If you are already passionate about Macrame and want to strengthen your skills, I’ve created the online courses and the Macrame community. I wish I could have taken it in the early days, when I started my Macrame journey.
There’s something for every level, from entry to more advanced. I am sure you will find what’s best for you! Check my Macrame Courses Page here!
On the same page, you can also find the best live macrame classes near you and meet me in person!
Beginner in Macrame: FREE RESOURCES
- Check out my FREE MACRAME FOR BEGINNERS resources page