This project is a collaboration with Hobby Craft.
I have been working on various fabulous macrame projects with them over the past few years, but this has certainly been the most enjoyable even though it’s also been the most time-consuming.
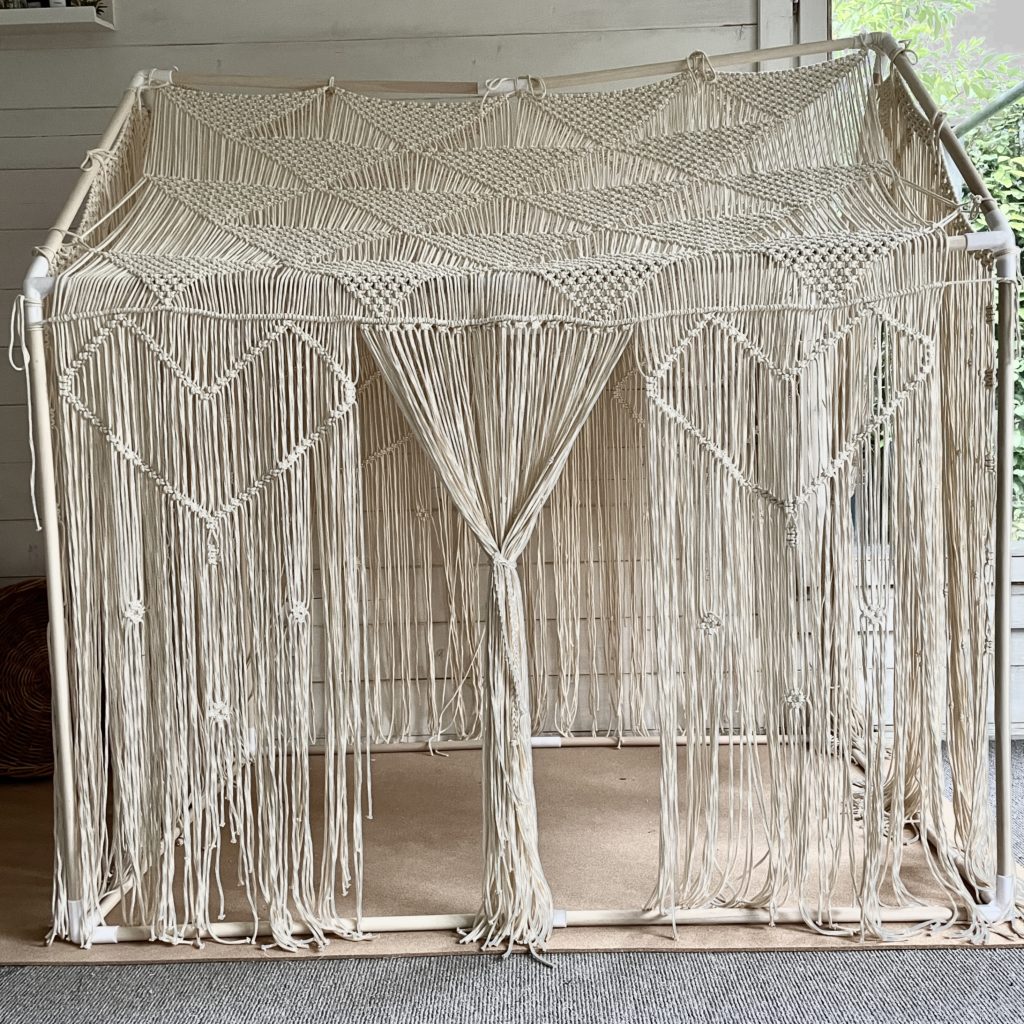
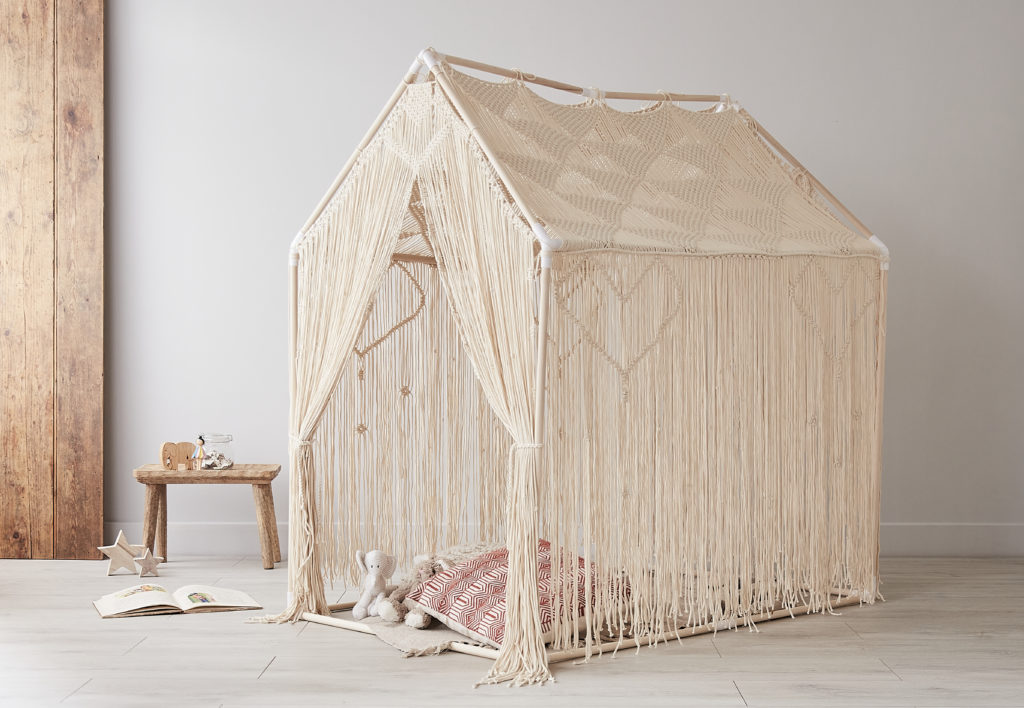
To make this beautiful macrame playhouse I have used over 1800 meters of strings and spend 40 hours on it, but it’s totally worth it and the kids LOVE playing with it in the house or outside in the garden. I am also imagining it at Chritsmas all decorated with fairy lights and mistletoe by the opening. Very instagrammable!
In this post, I would like to share the process and behind the scenes. if you want to dive straight into the tutorial click here.
It all started with an inspirational idea that turned into a sketch. It was important to have four panels so it’s easier to dismantle them and build them again. I wanted to have ’tiles’ on the roof part and also a ‘door’ on each side of the house to make it more flexible for kids to play.
After that, it took me a few days to measure and cut all the strings. I listen to two Audible books while making this macrame project and I have also drunk a lot of tea and stretched regularly!
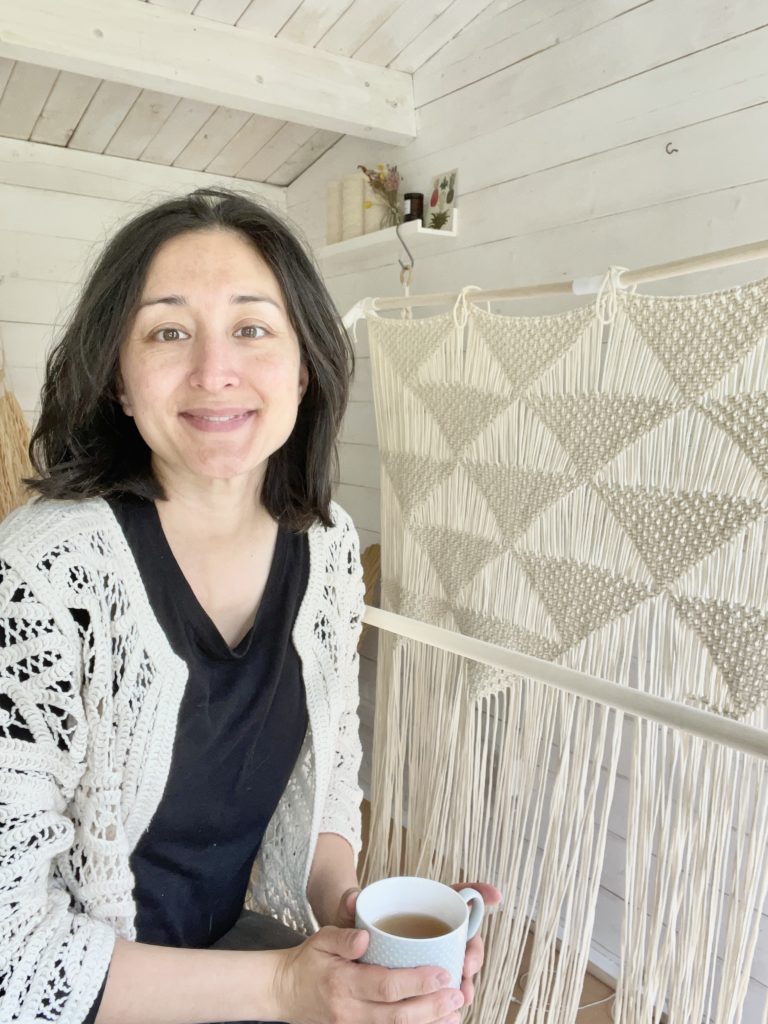
I was so grateful to be working in the studio because this project was pretty addictive. It was mesmerising to see it grow and the kid loved coming home from school to check on the progress. However, it was also good to be able to close the door and take a proper break from it.
Do you like the heart-shaped ‘window’? I thought they would be very cute and I replicated the shape on the taller sides of the house to keep the theme.
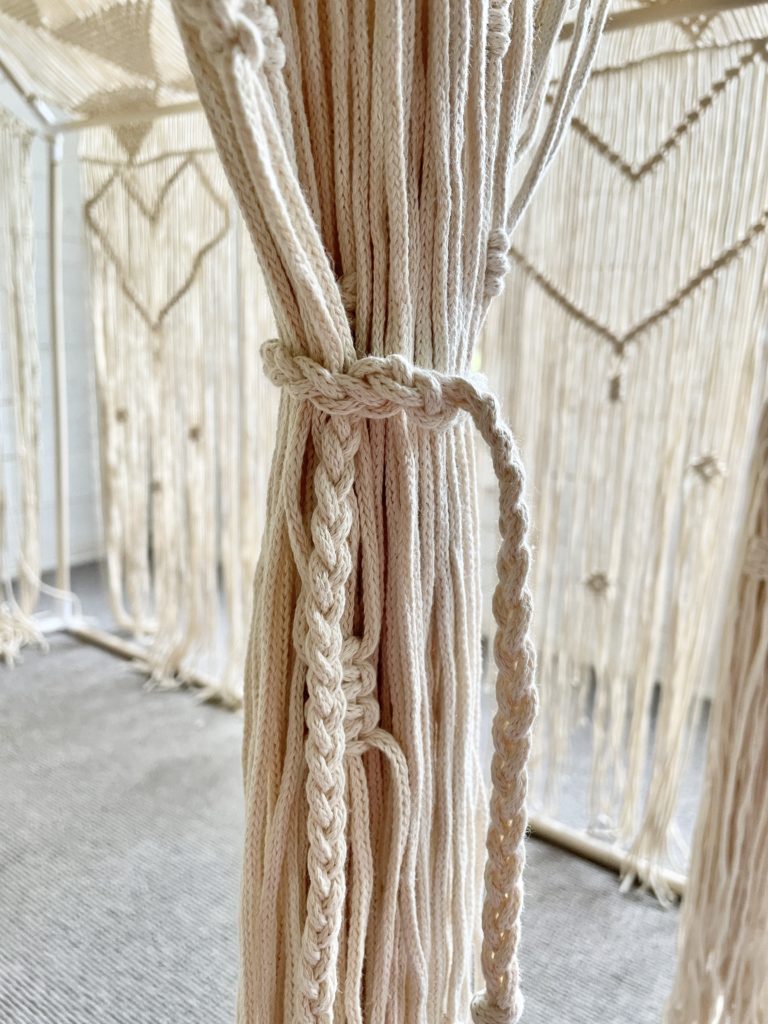
It’s hard to see in the final picture, but many strings have a few barrel knots to add an extra layer of details and interest. Another detail that I wanted to add to the macrame playhouse tutorial, was how to make curtain ties for the house, so the kids can use them to keep the opening clean and tidy.
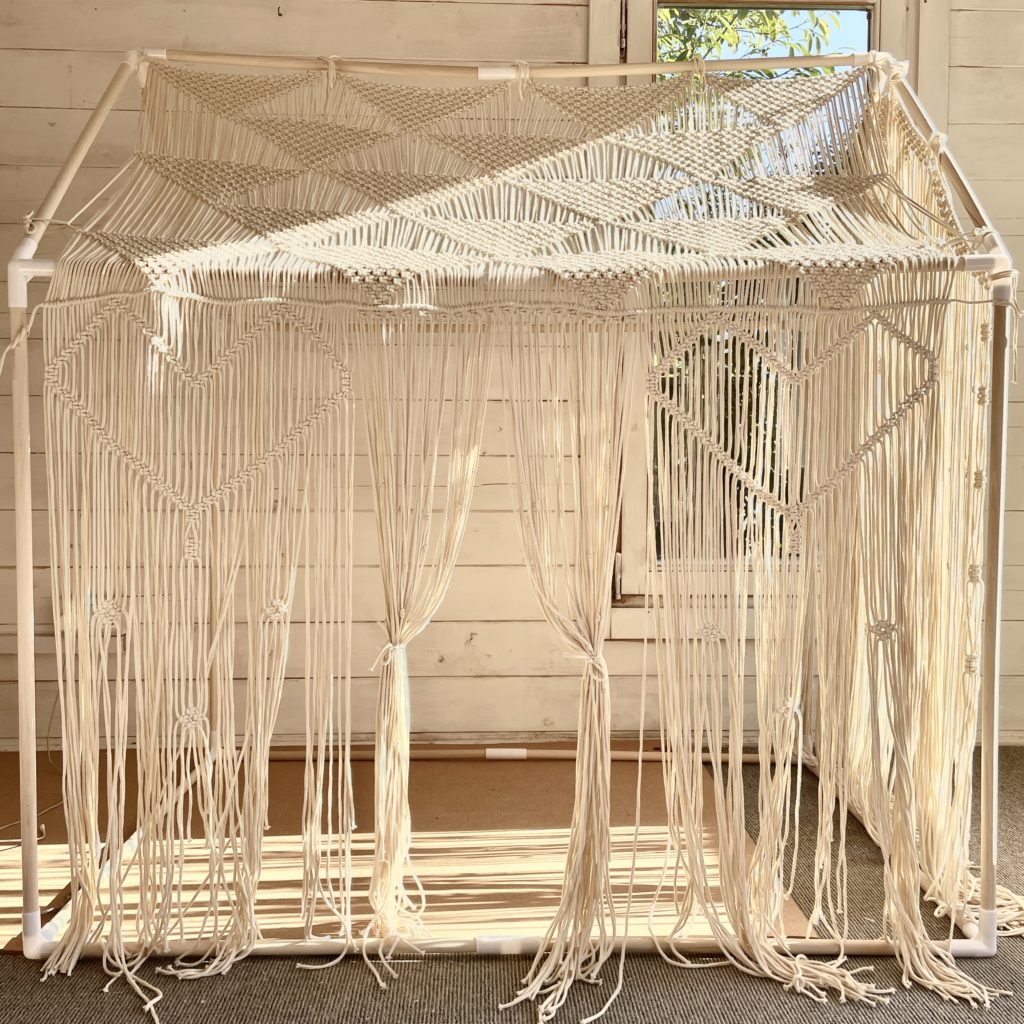
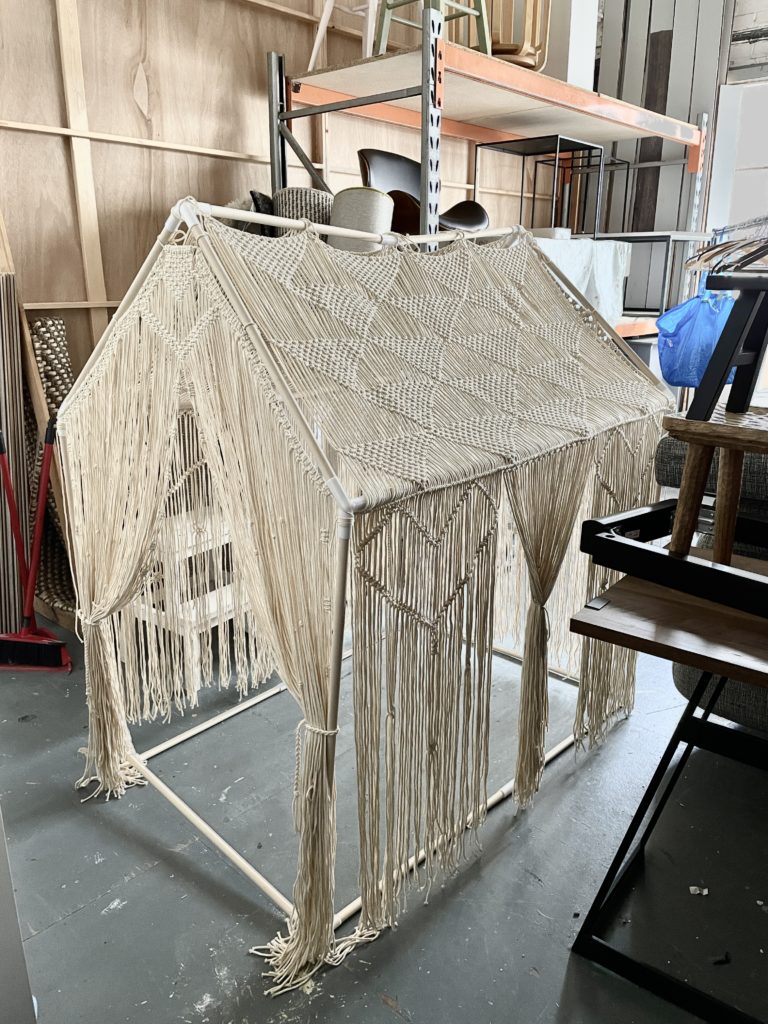
Finally, once it was finished, I had to dismantle it and build it again in the Hobby Craft studio for the photo shoot. Here it is in the back room before the shoot.
I took so many videos and photos and I will share more on Instagram here over the next few weeks.
I hope I have inspired you to try making your own macrame playhouse, you can find the step-by-step photo tutorial here.
I would love to see your version, don’t forget to tag me @_twome and @hobbycraft so we can see them and reshare.
Do you want to learn how to estimate strings for your macrame project or learn how to design your own macrame piece?
Check out my two masterclasses:
‘How to estimate and measure string’
‘How to start & design your own macrame’
Happy Knotting
Isabella x