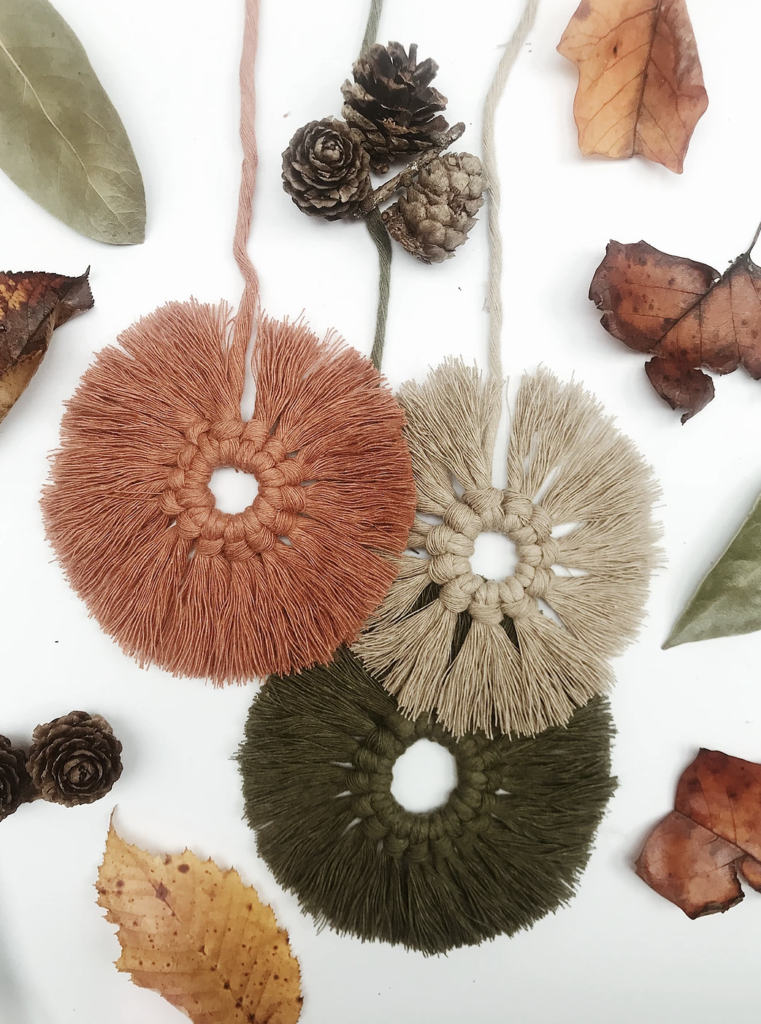
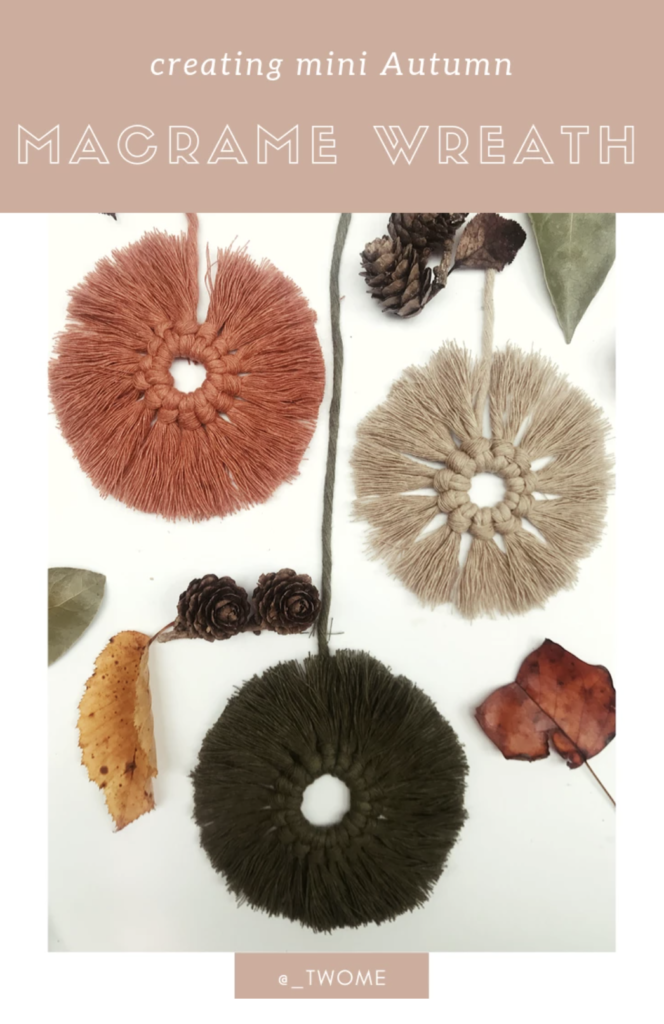
Your perfect autumn-winter easy-to-make mini decoration tutorial 2024 is sorted by Isabella Strambio!
Suddenly it’s cold, the wood burner is on and the leaves are changing colors. Don’t you love this season?
I love the colors, the coziness, and the hot chocolates.
I haven’t posted a blog post with a tutorial for a while, I have been so busy with other projects, and in the midst of it all, I found this beautiful tutorial I made a couple of years back inspired by the autumn/winter season… It has all the cozy elements I love: it’s cute, mini, easy, and quick to make and you can choose from any of the beautiful array of warm winter colors you have in your kit…
The beautiful yarns are by Bobbiny and honestly, these are so quick and fun to make.
The colours are just perfect for this season and the yarn is super soft and makes the most gorgeous fringe.
I hope you will enjoy making them, and please post your Autumn’s macrame wreath on Instagram and Facebook, don’t forget to tag me! I would love to see them and share. You can also use #startacreativejourney

Material:
Bobbiny Sand 3mm – 2.2 meters (CUT: 1x 40cm; 12x15cm)
Bobbiny Terracotta 3mm -2.5 meters (CUT: 1x 40cm; 14x15cm)
Bobbiny Avocado 3mm – 3.1 meters (CUT: 1x 40cm; 18x15cm)
Equipment:
Measuring tape
Masking tape
Comb/Pet brush
Scissors
Tutorial:
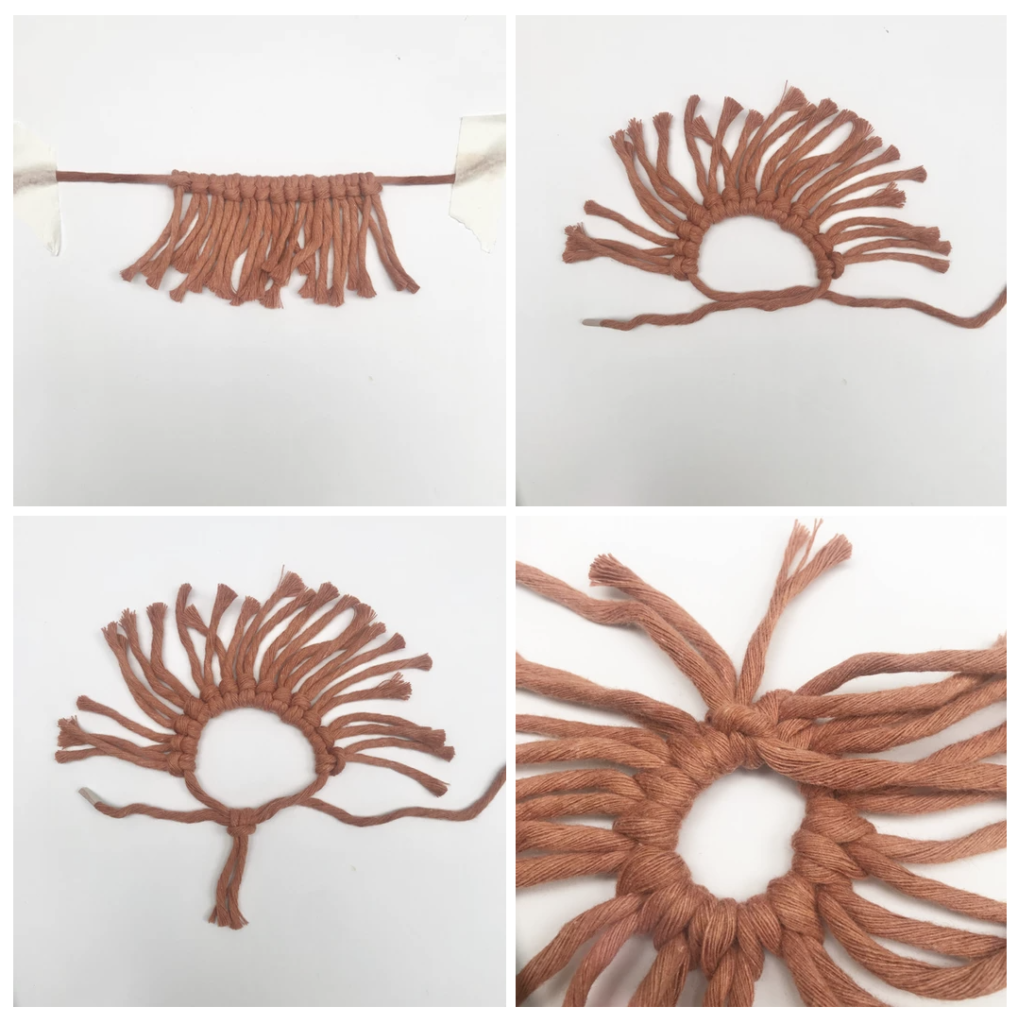
1. Take your long string (40cm) and fit it on a flat surface with masking tape
2. Place your remaining strings (except one) on the long string, using the lark’s head knot PIC 1 (tutorial for the knot here)
3. Take the long string and fold the ends PIC 2
4. Take the last string (15cm) and make a lark’s head knot over the two ends PIC 3
5. Pull the ends to form a circle with all your strings radiating
6. Turn your wreath and make a double knot with the ends. PIC 4

7. Cut one end at the same length as the radiating strings and keep one end long (you will use it to hang the wreath)
8. Turn the macrame wreath back and use a comb or pet brush to brush the strings
9. Cut the fringe at the desired length
10. Make as many wretah as you want to decorate your home or windows
Optional- you can use spray starch to hold the fringe in place.

I hope you have enjoyed the tutorial, you can find more free tutorials here.
Enjoy making,
Isabella x
Want some MORE FREE Resouces?
Have any questions? Want to chat it through? Come see me on my Instagram pages, I hang out in the DMs daily and would love to hear from you!
- For everything Macrame: @_twome
- For dedicated Small Biz Tips: @hellocreatives_academy
Uncover your perfect macrame project with this FREE 2-minute quiz!
Take the QUIZ here